“LAZY GIRL” CHICKEN BREASTS
on Jul 27, 2024, Updated Sep 06, 2024
This post may contain affiliate links. Please read our disclosure policy.
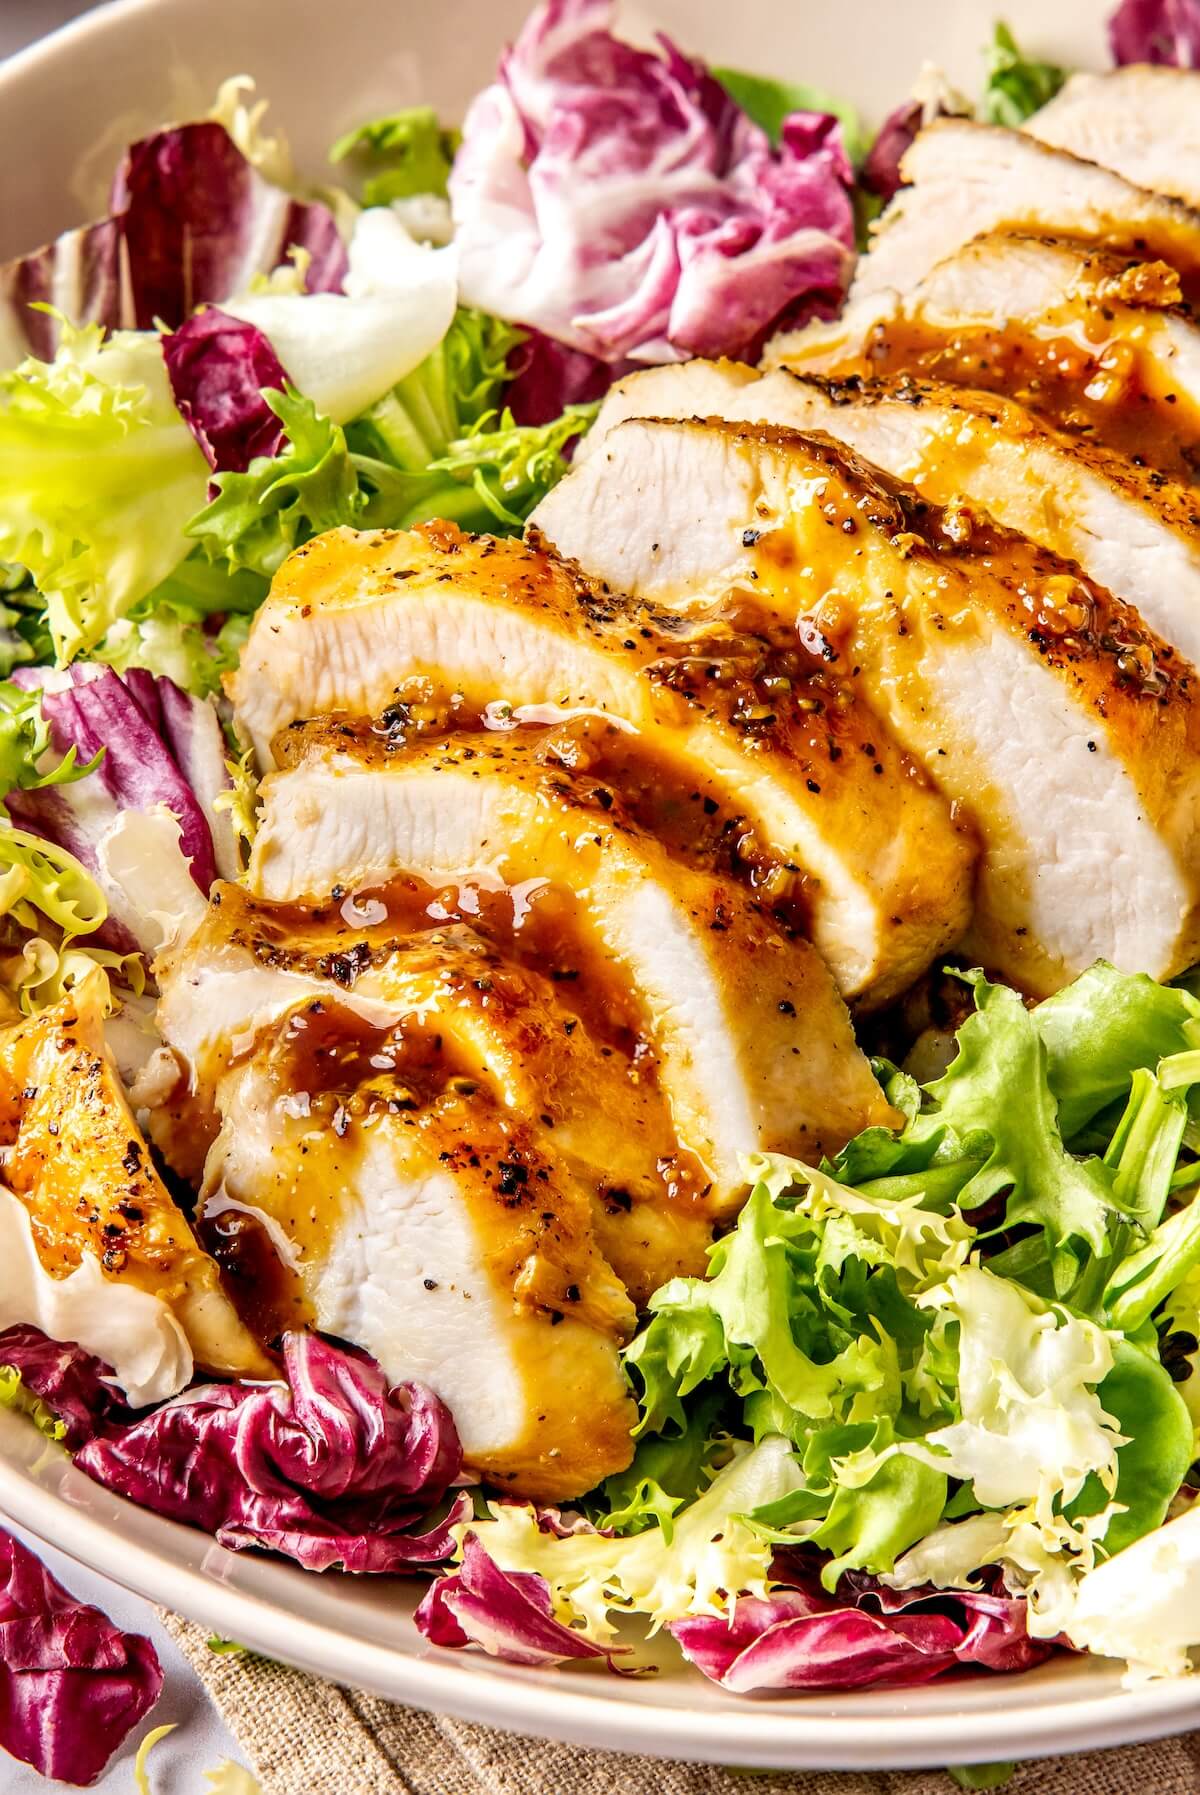
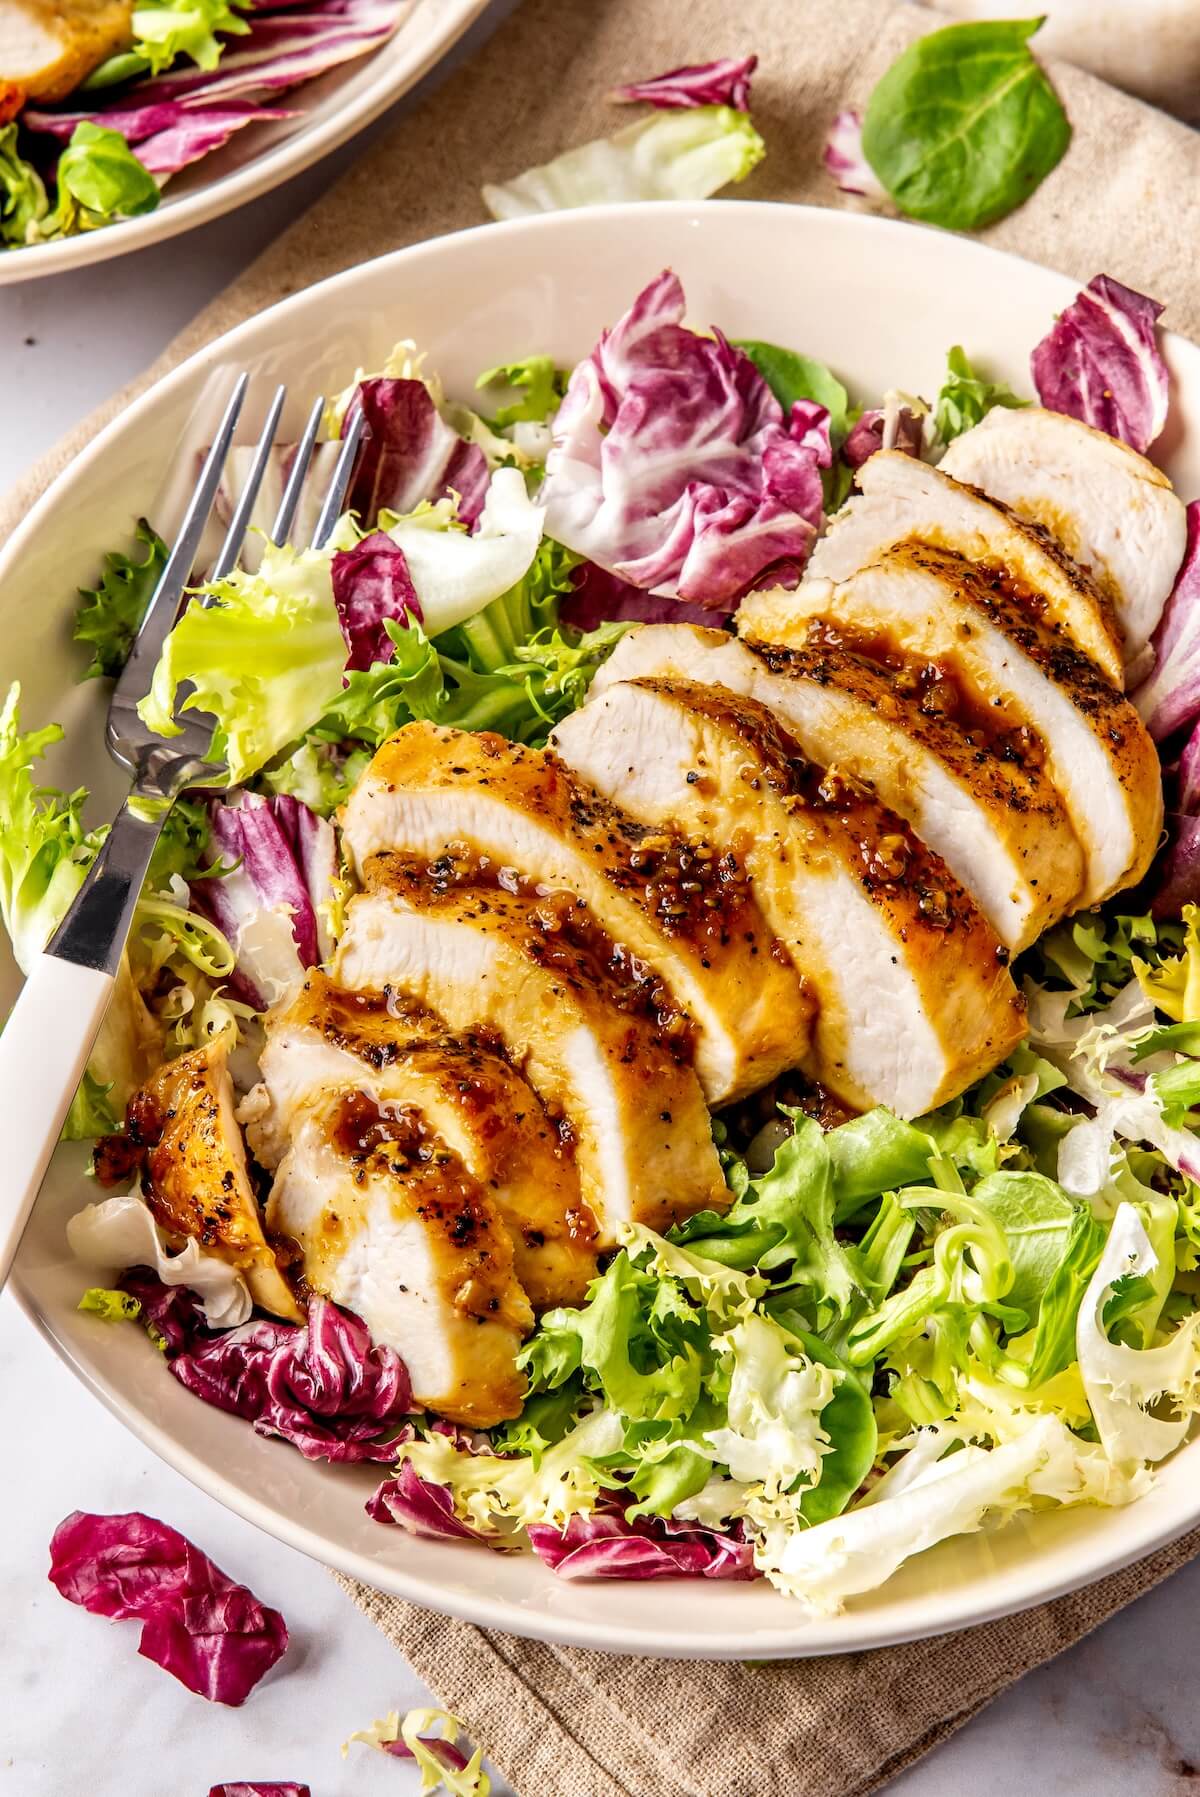
Winner winner chicken dinner! Who said that chicken has to be dry and boring? If you’re looking to incorporate more protein into your diet, then adding chicken to a salad, bowl, or soup is just about the easiest way to do it. My “Lazy Girl” Chicken Breast recipe is hands down the only recipe you’ll need to make juicy, flavorful chicken breasts every time.
Now, chicken can sometimes get a bad rap for being bland or dry. But don’t blame the chicken breasts for being boring; blame the cooking method!
Searing the chicken at too high of heat can cause the outside to be crispy but the interior to be underdone, leading to a dry piece of meat. Or, not giving the chicken enough time to rest before cutting into it means all the juices within it are left on your cutting board and not your plate.
To avoid these situations from happening, be sure to cook chicken on medium-high heat using a high-heat cooking oil such as avocado oil. Also, chicken breasts can vary greatly in size. Even within the same 1-pound package, you could have an extra large breast and a smaller one.
If that’s the case, you may need to trim down the chicken to ensure all your pieces are roughly the same size and thickness. Also, as hungry as you may be, let the chicken rest and cool for about 5 minutes before diving in. You’ll be more satisfied with the final product when it’s moist and tender.
Get the Protein-Empowered digital cookbook!
So, whether you’re new to cooking chicken or just looking to revamp your cooking method, give this recipe a go. After a few tries, you’ll see exactly why I call it “Lazy Girl” chicken and just how easy it is to cook this protein staple!
Everything You’ll Need to Make Lazy Girl Chicken
Don’t overcomplicate things! The most basic pan-seared chicken recipe is all that you need for a protein-focussed meal. Here’s everything you’ll need.
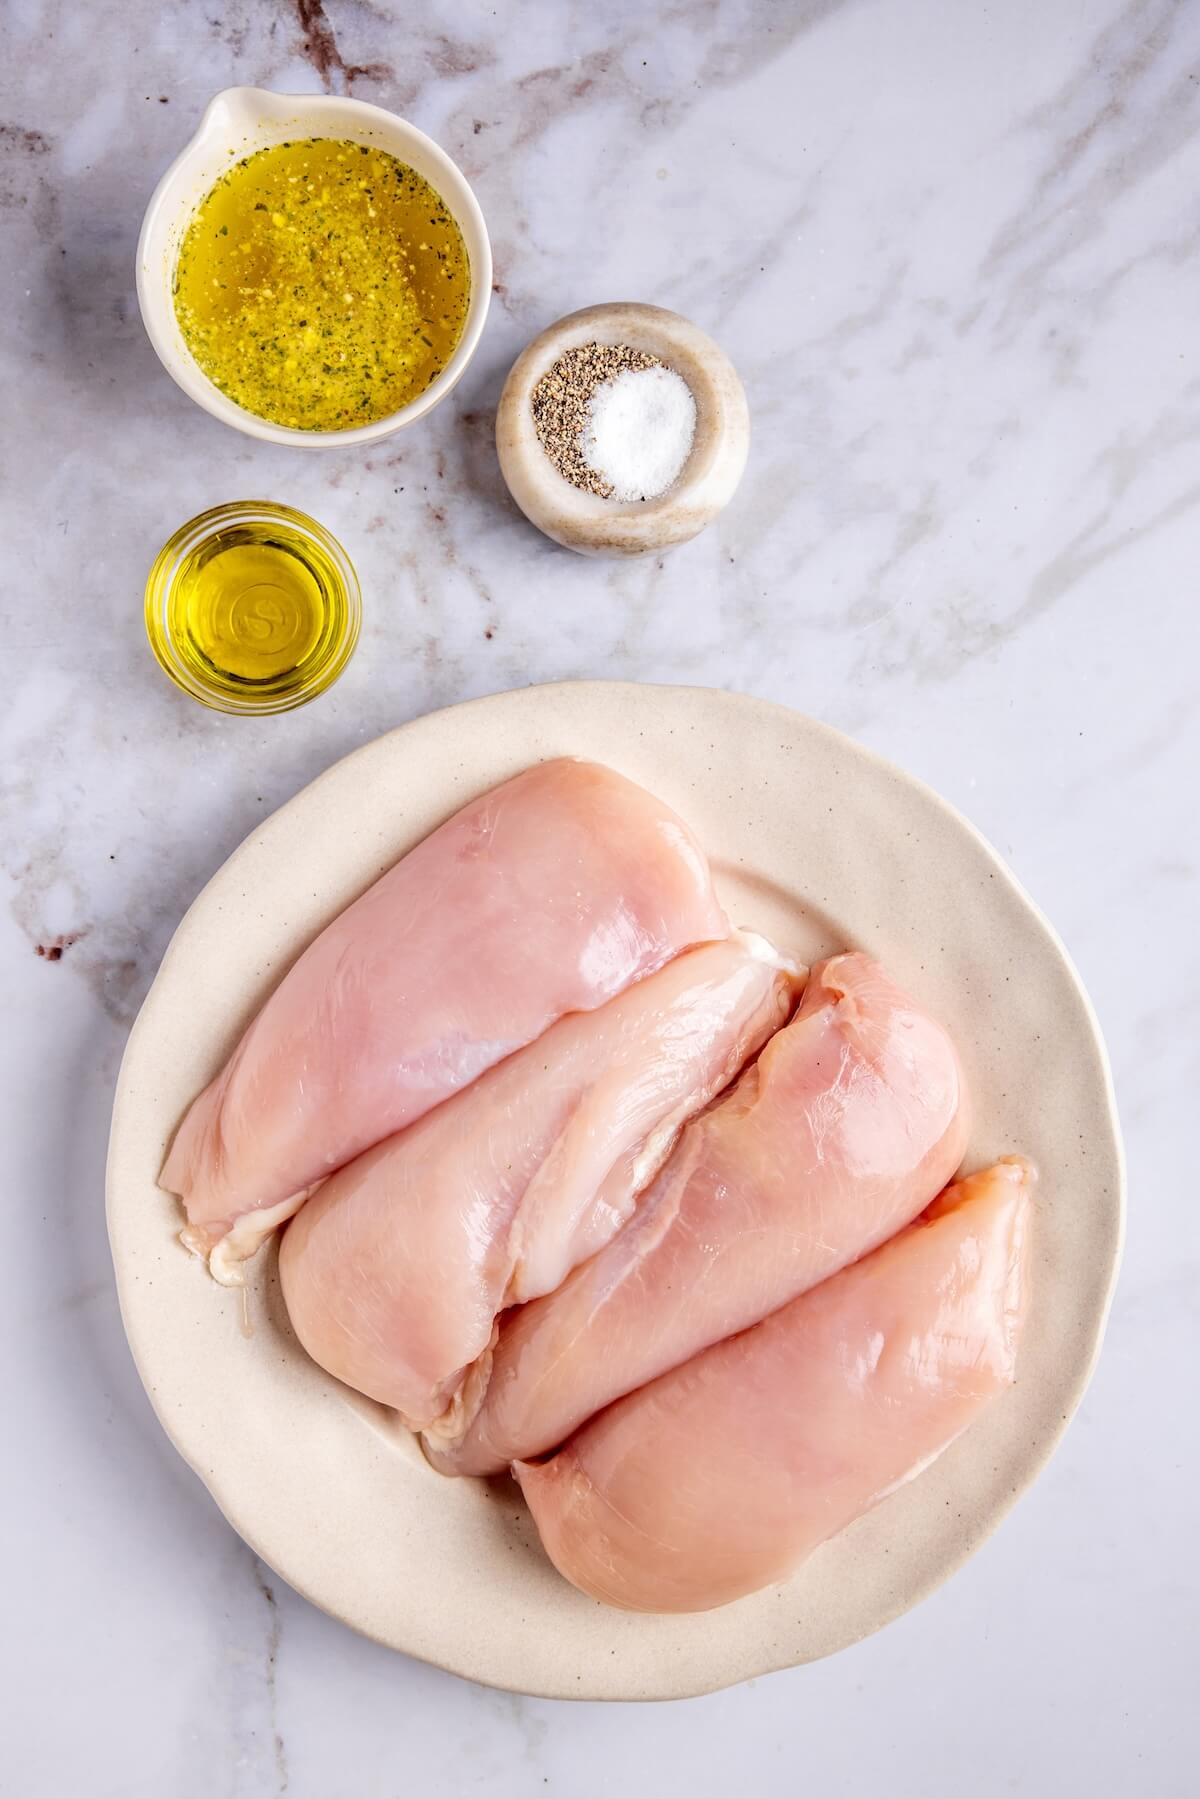
- Chicken Breasts: Kind of the obvious ingredient here… I look for organic boneless, skinless chicken breasts that are about 1 inch thick. If they’re on sale at Whole Foods, you know I’m stocking up and freezing them! Just take them out of the freezer the night before and let them defrost in the fridge. If your chicken is on the thicker side, you may want to use a meat mallet to pound them out. This just ensures they cook evenly through.
- Salt and Pepper: Chicken needs flavor! Salt and pepper help keep the chicken moist while also enhancing its natural taste. Remember to season both sides!
Pin this recipe for later!
Pin It- Avocado Oil: I like to sear most meat in avocado oil because it has a higher smoke point than other oils, including extra virgin olive oil. Coconut oil is another great choice with a higher smoking point.
- Bone Broth: A nourishing, gut-healthy ingredient, chicken bone broth is the secret to a quick and easy pan sauce. The chicken finishes cooking in the broth, adding extra moisture to the breasts. I love @kettleandfire bone broth because it’s non-GMO, gluten-free, glyphosate-free, and just really tasty! You could use regular stock or broth, but I prefer bone broth for its added nutritional value.

How to Make “Lazy Girl” Chicken Breasts
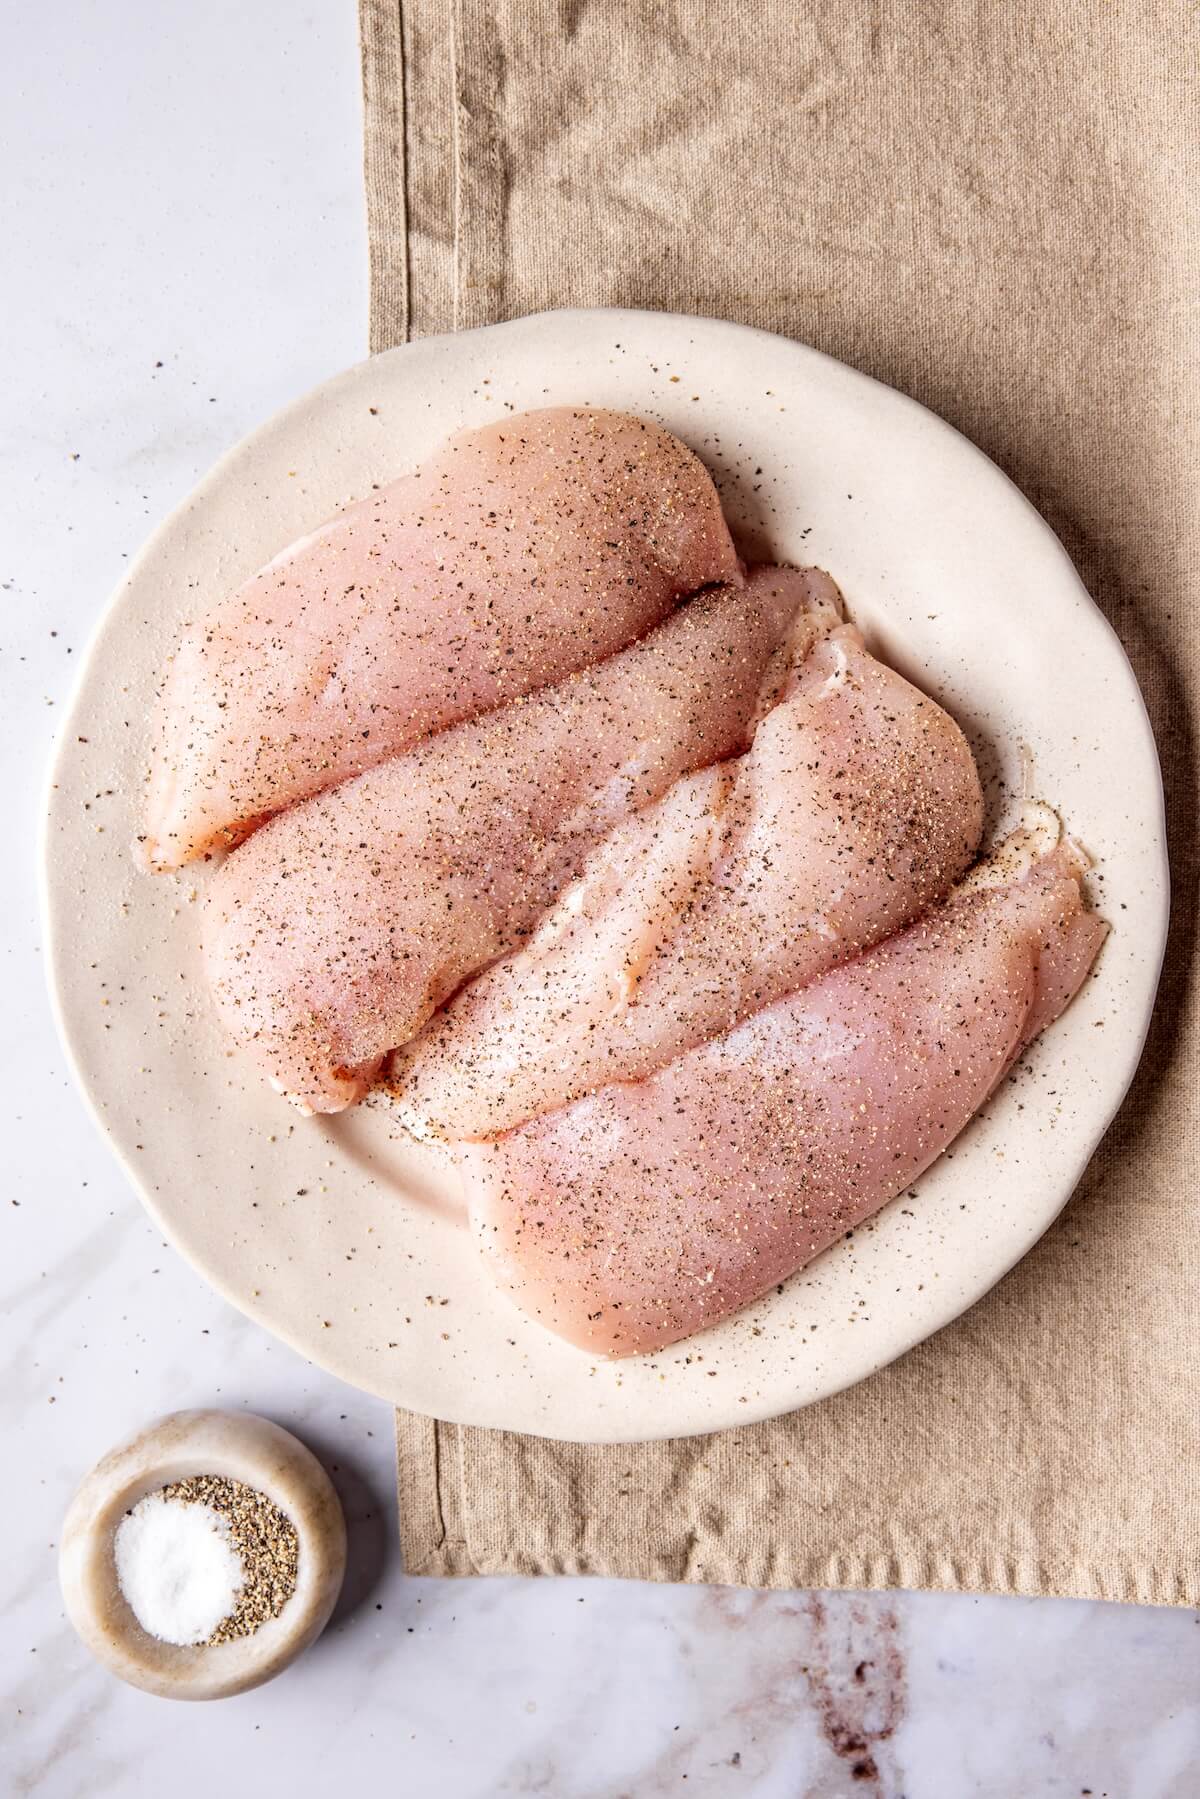
To start, you’ll pat the chicken dry using a paper towel. This helps create a crust when it hits the hot oil in the pan. Season both sides generously with salt and pepper.
Heat your cooking oil, such as avocado oil, in a large stainless steel or cast iron pan over medium-high heat. You’ll know the oil is hot when you flick a few drops of water on the pan and they start to splatter.
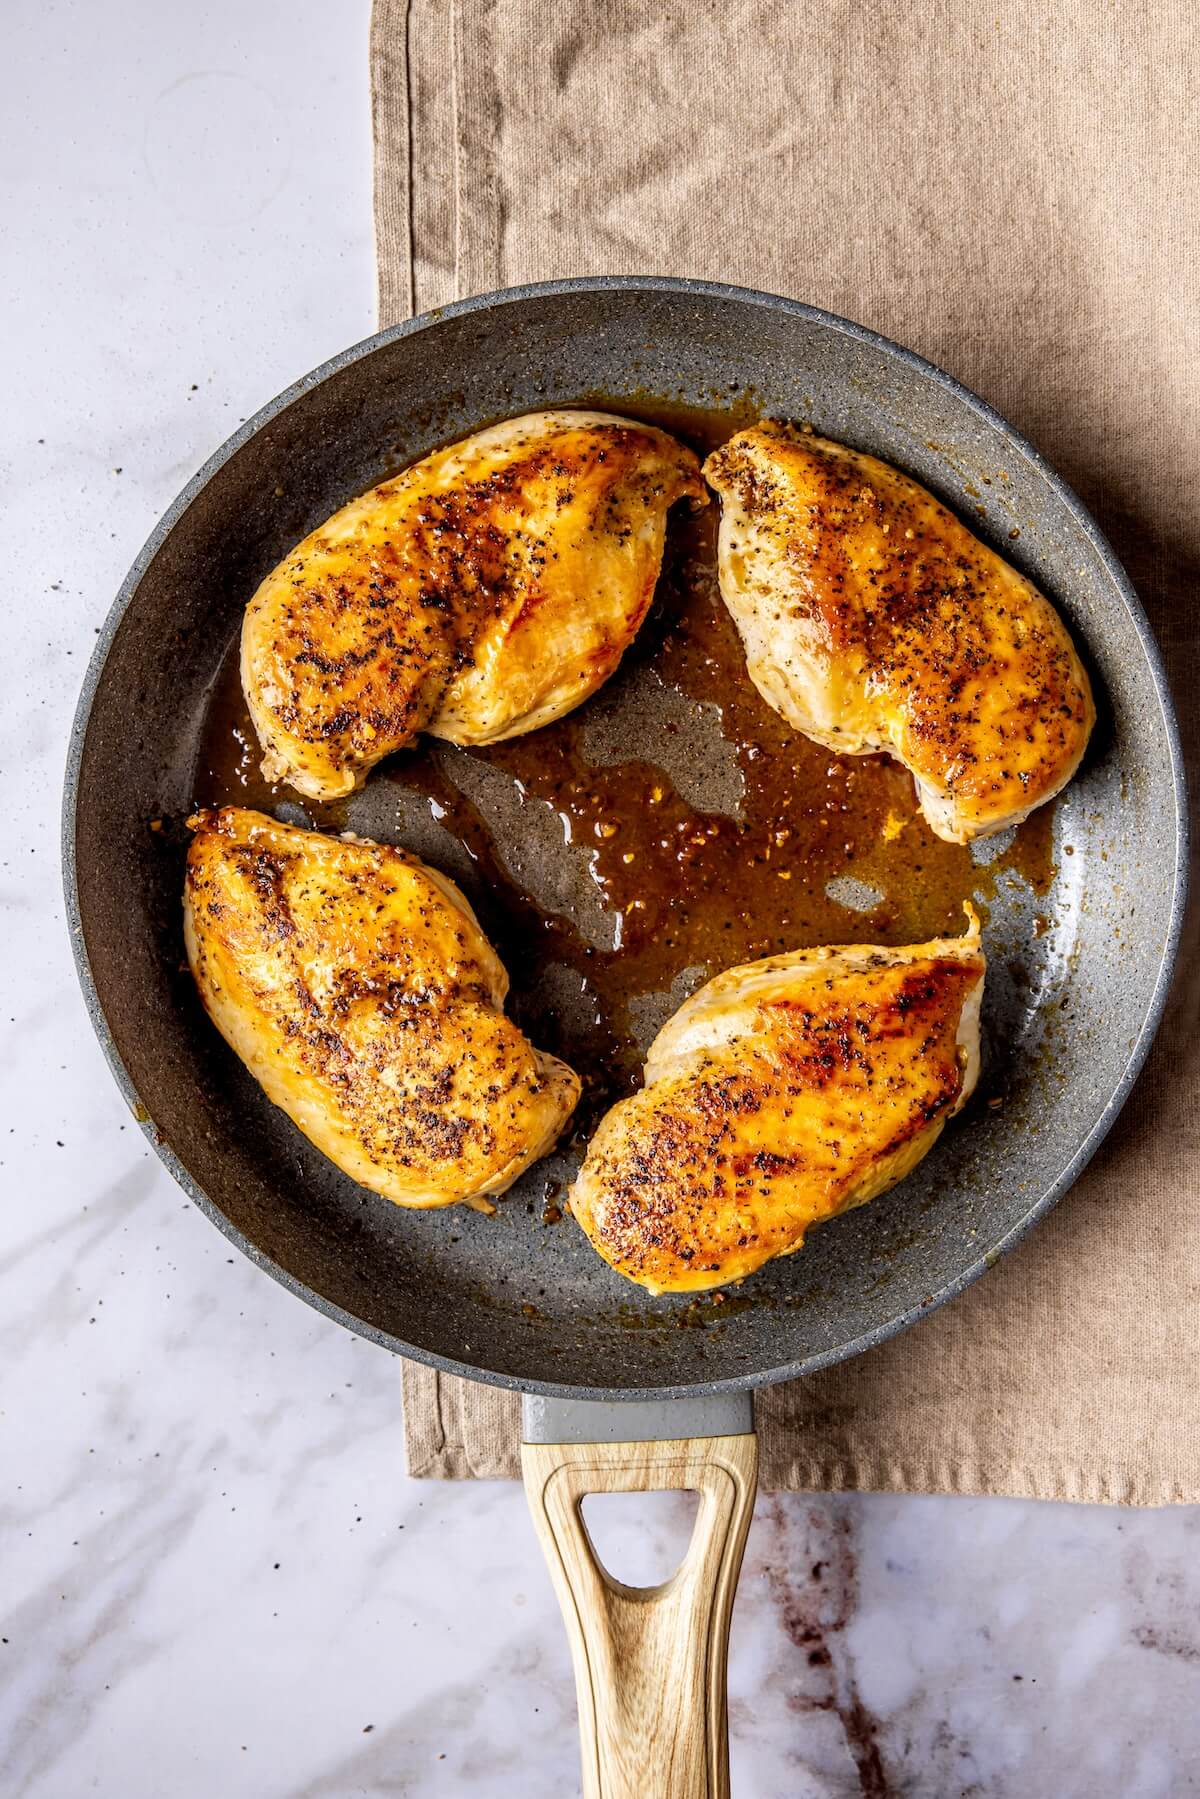
Add the chicken to the skillet. You may need to cook the chicken in batches if it doesn’t all fit. Overcrowding the pan will steam the chicken rather than sear it, which is not what you’re looking for! Cook on one side for 7 minutes, and avoid the temptation to flip or move them around until they pick up easily with a spatula or tongs.
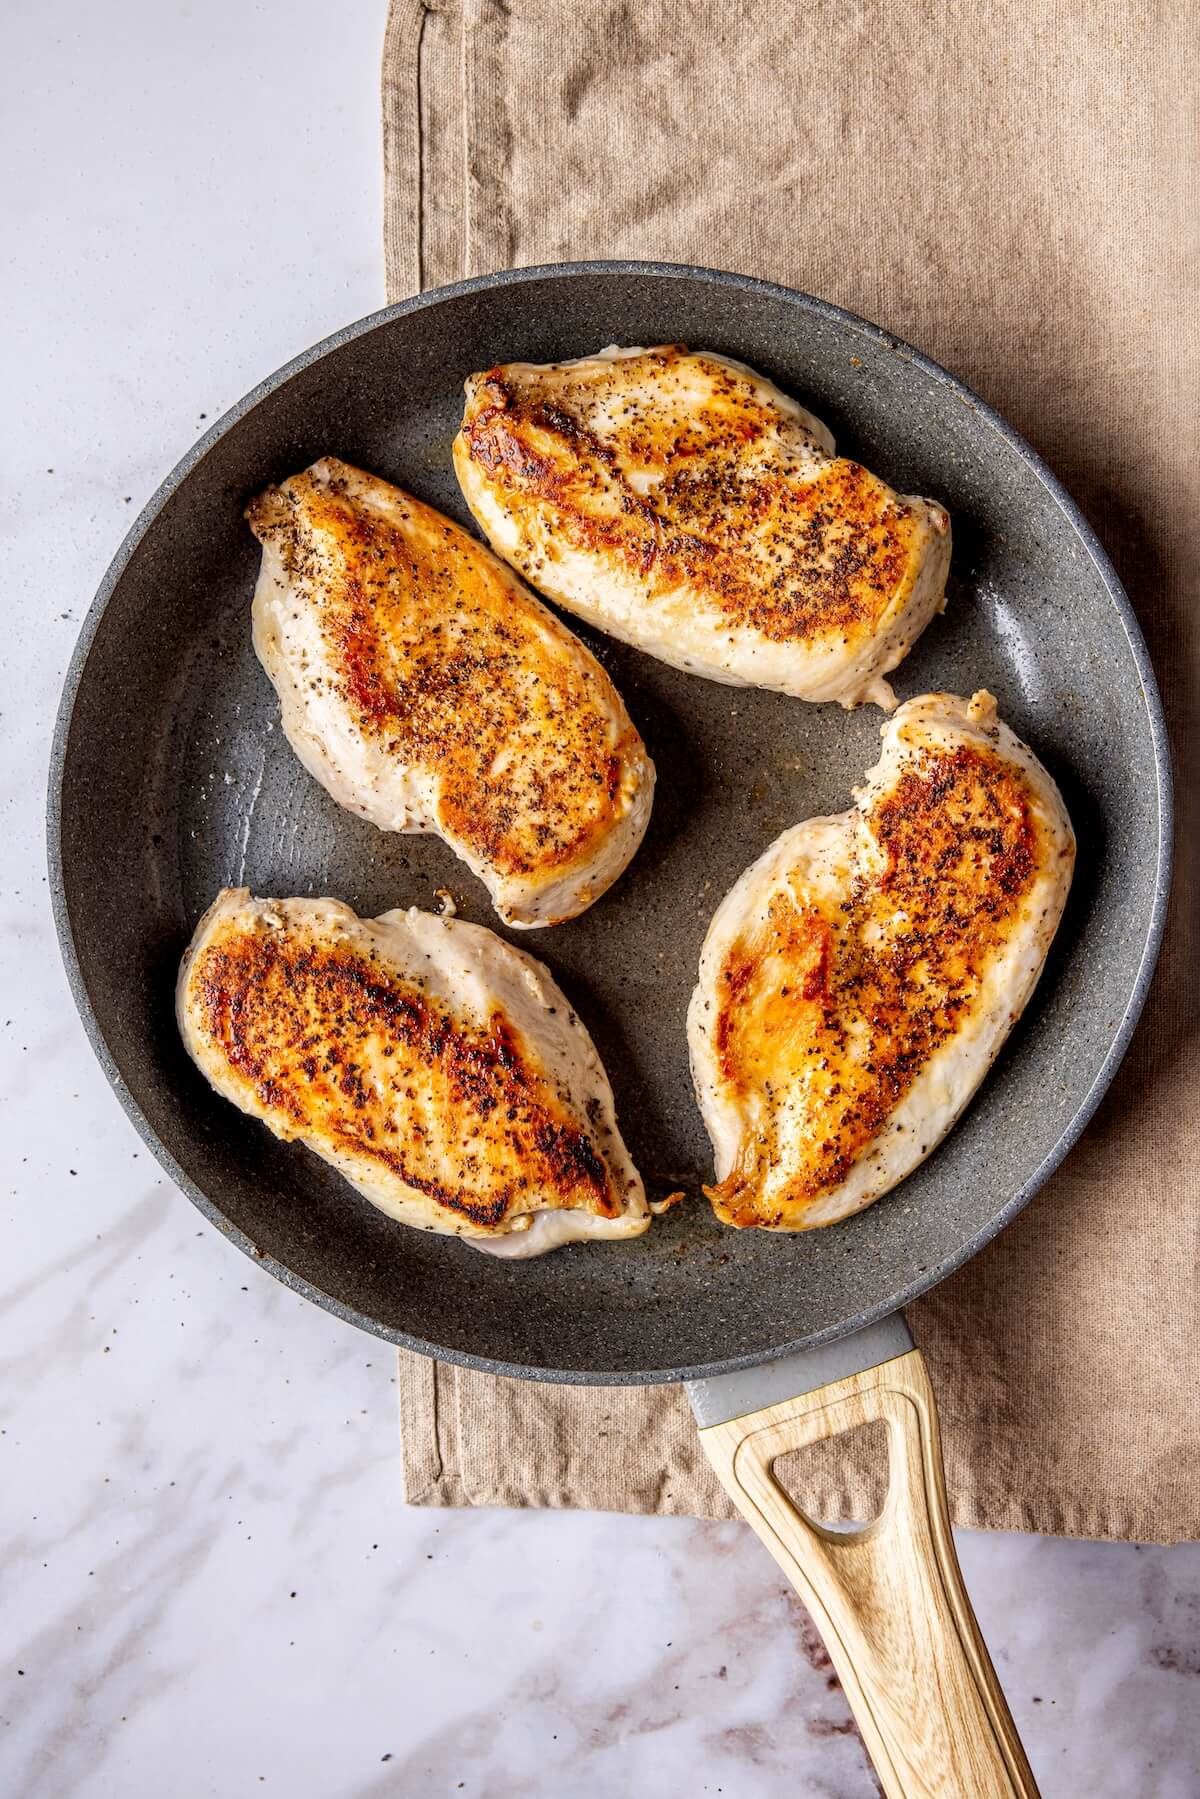
Once the chicken breast is easily released from the pan, flip the chicken. Cook for another 5 or 7 minutes.
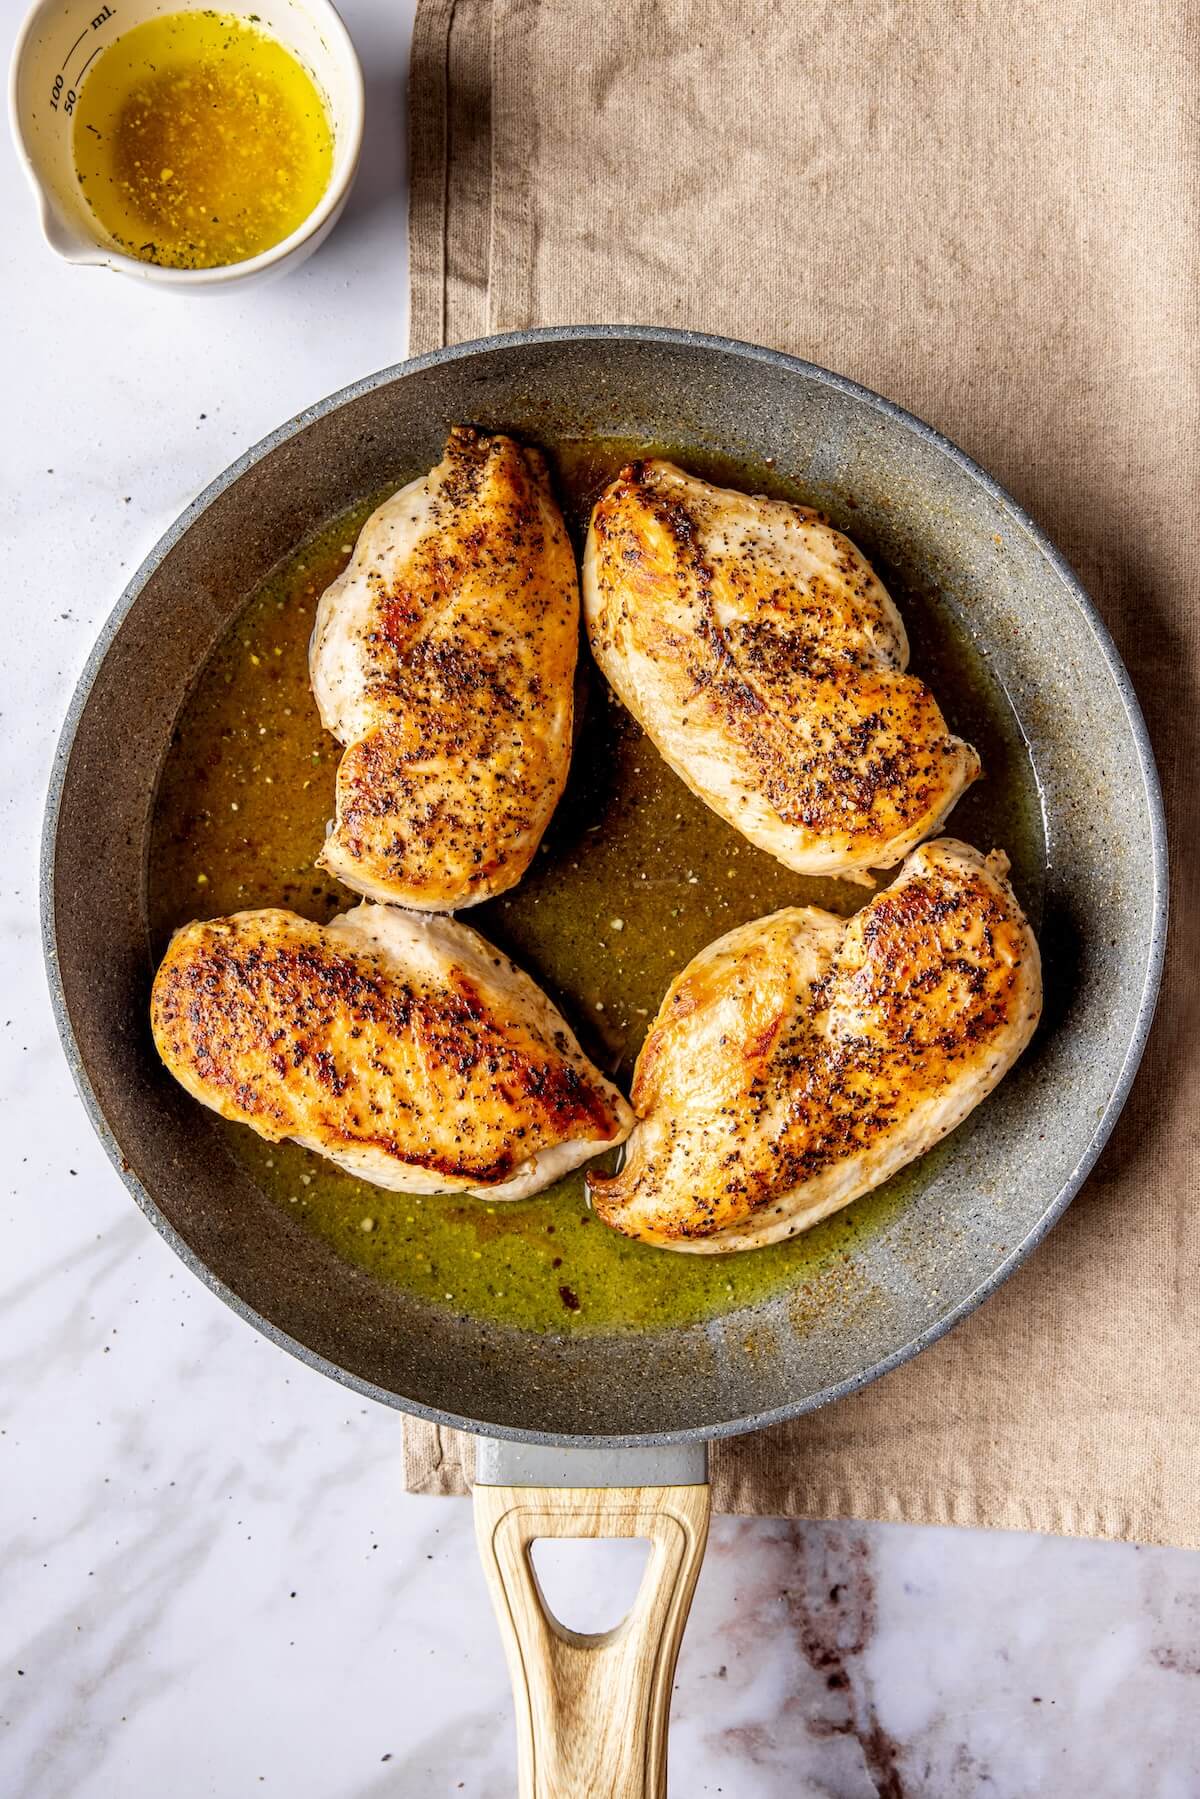
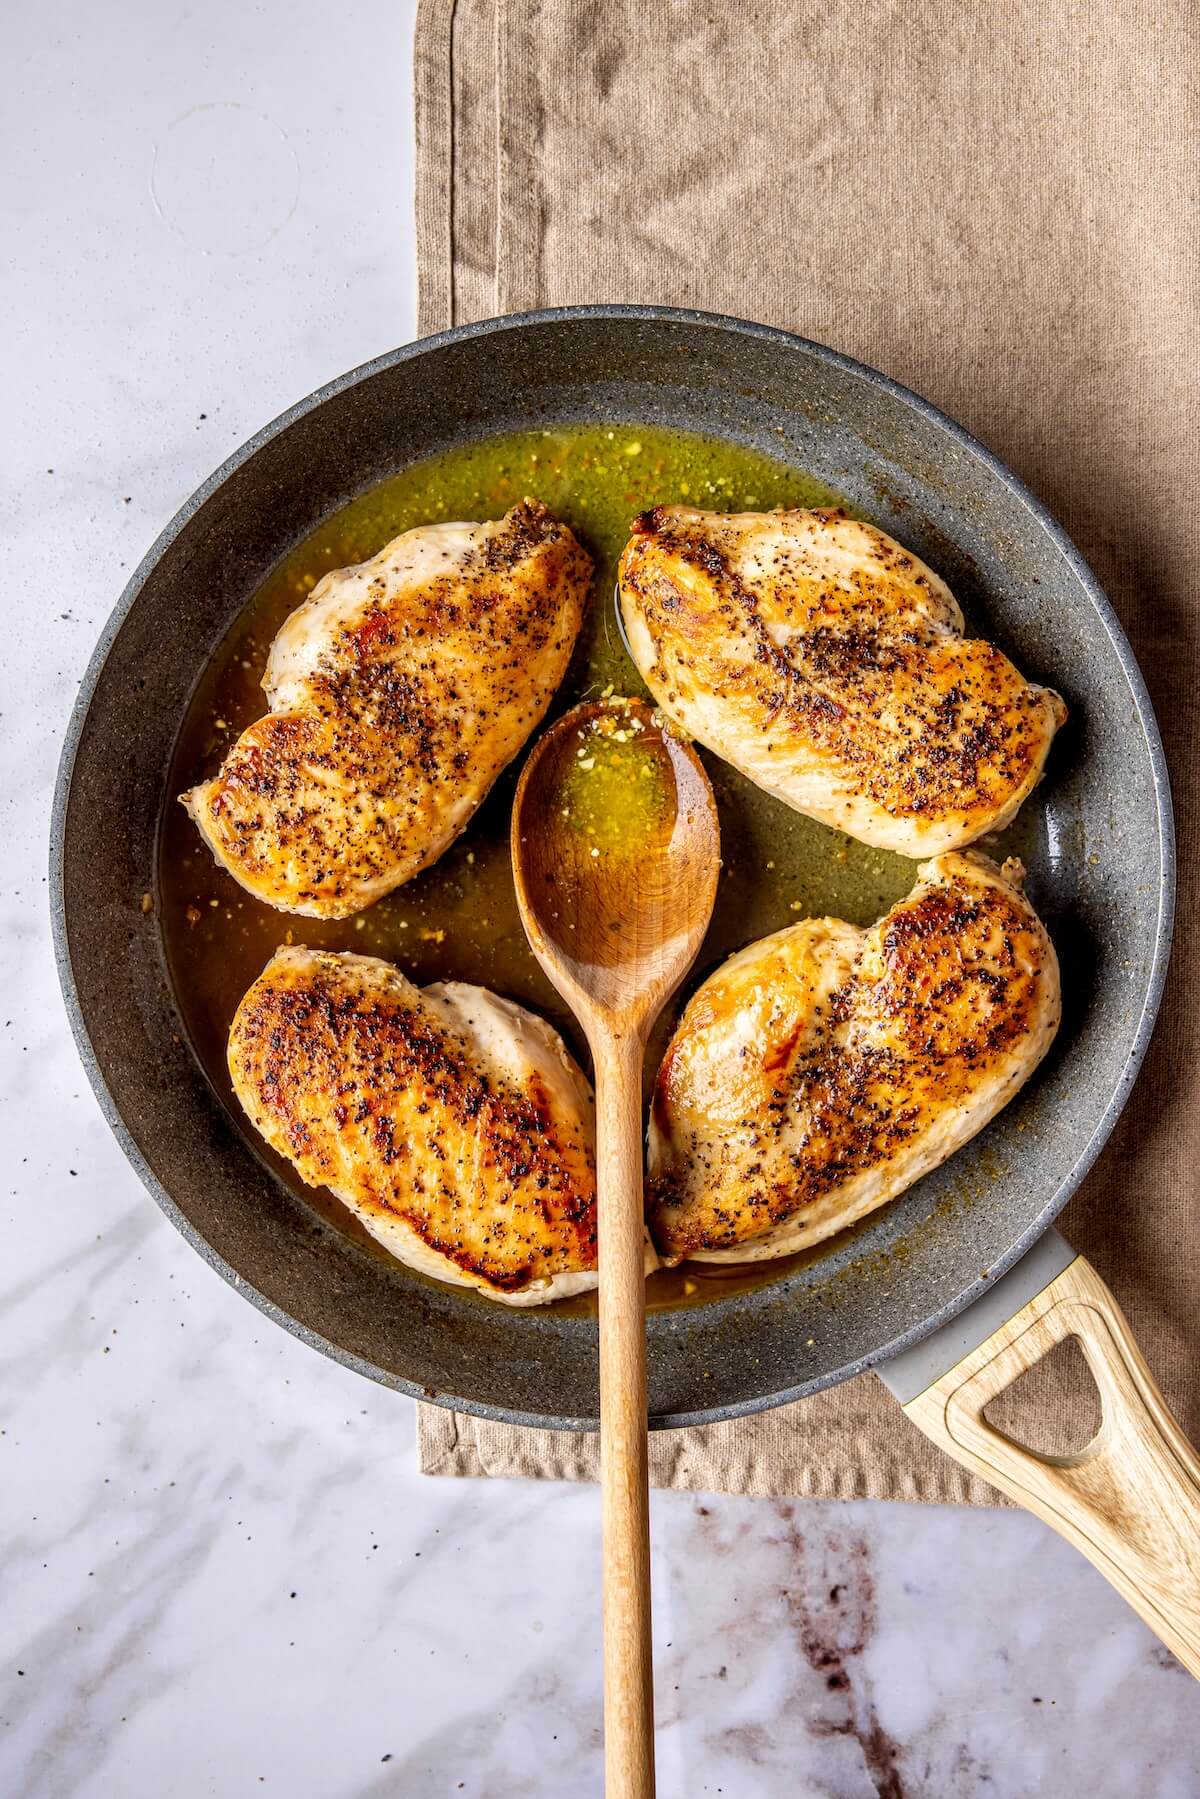
Lower the heat to medium and add ¼ cup of chicken broth. Scrape up any chicken bits with a spoon as the broth deglazes the pan. Then, add another ¼ cup of broth to cover the pan. Allow the sauce to thicken and reduce until you’re left with a thin glaze. Toss the chicken into the sauce as it reduces, for about another 3 to 5 minutes.
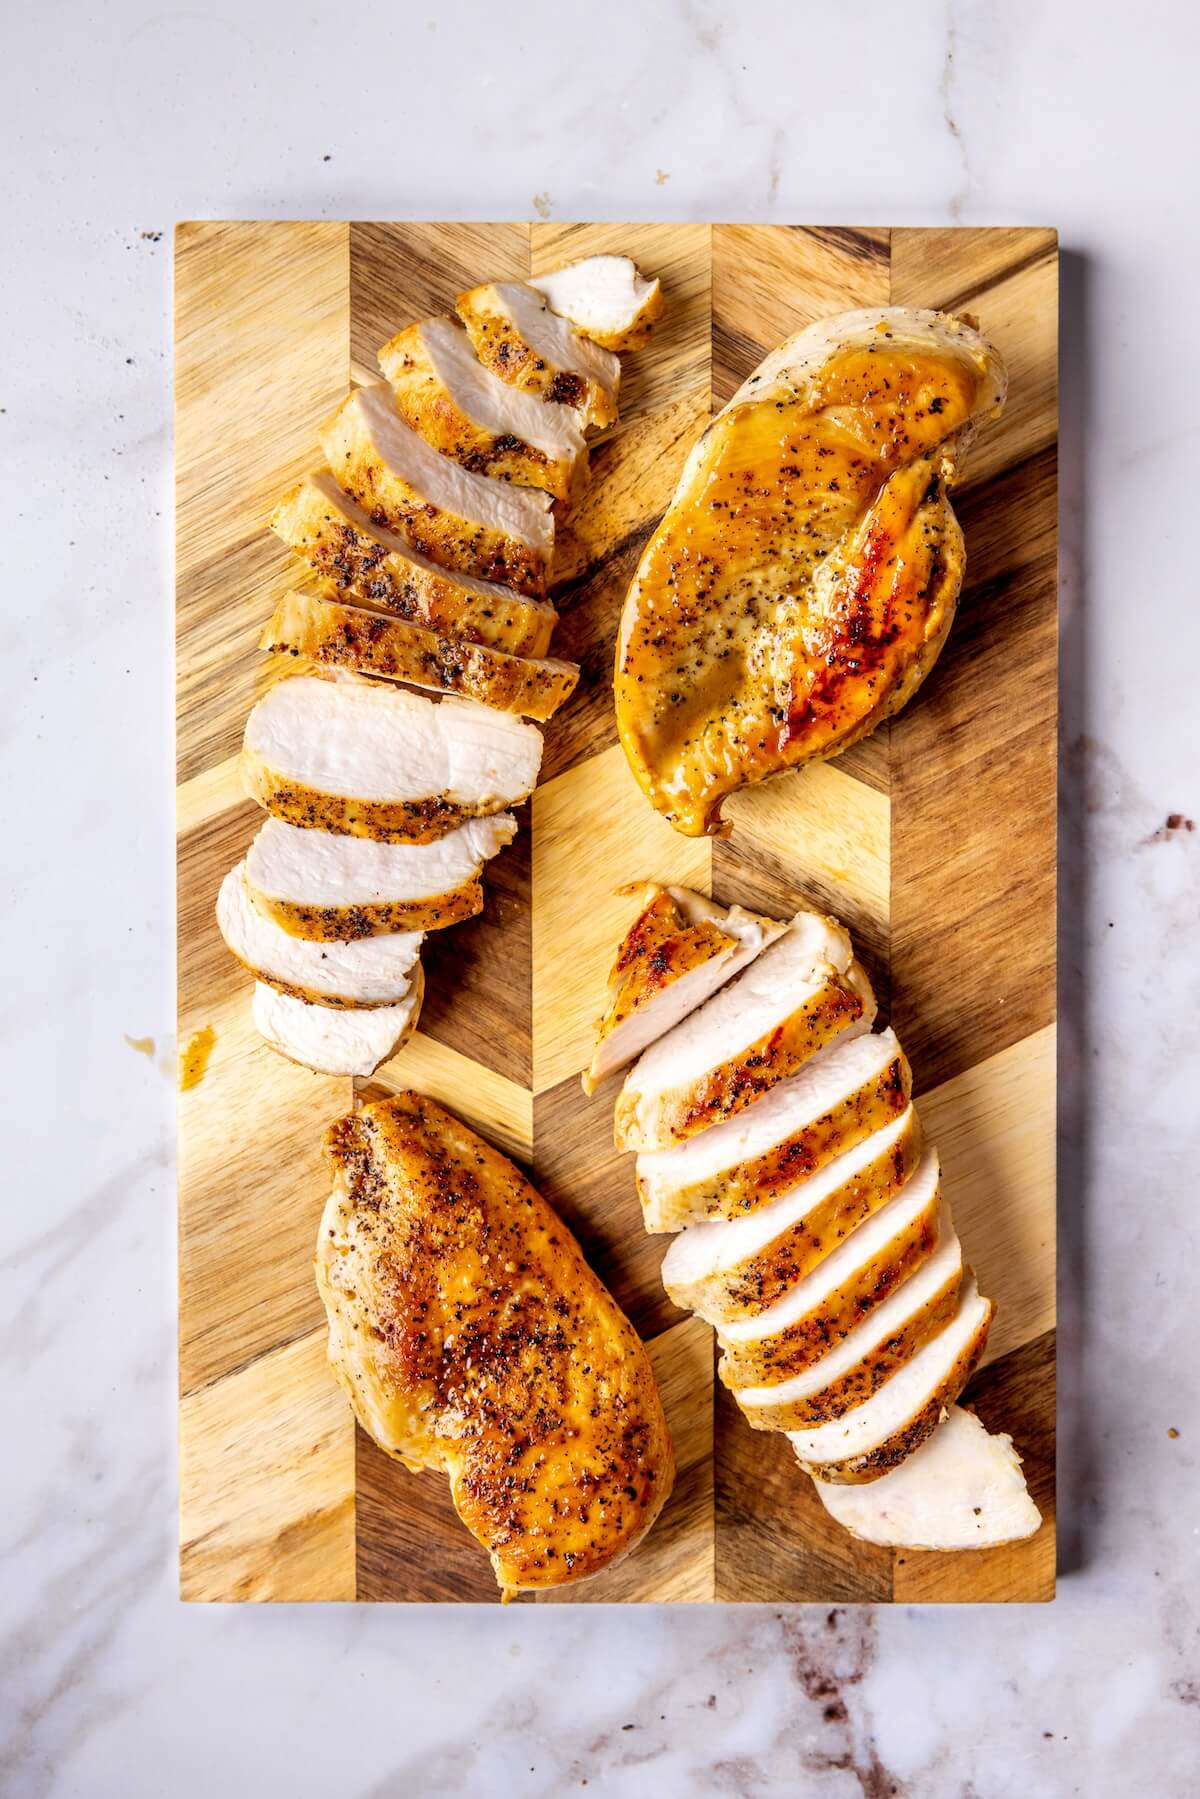
At this point, the chicken should be fully cooked through. There’s no shame in using a meat thermometer to ensure it is done! Chicken is cooked once it reaches 165°F.
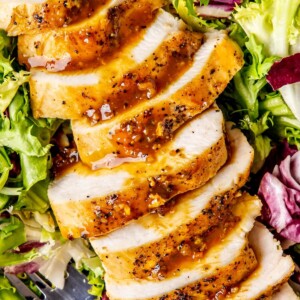
Remove the chicken from the skillet and allow to rest for 5 minutes before slicing. Serve with the pan sauce and enjoy!
Use These Chicken Breasts In These Recipes
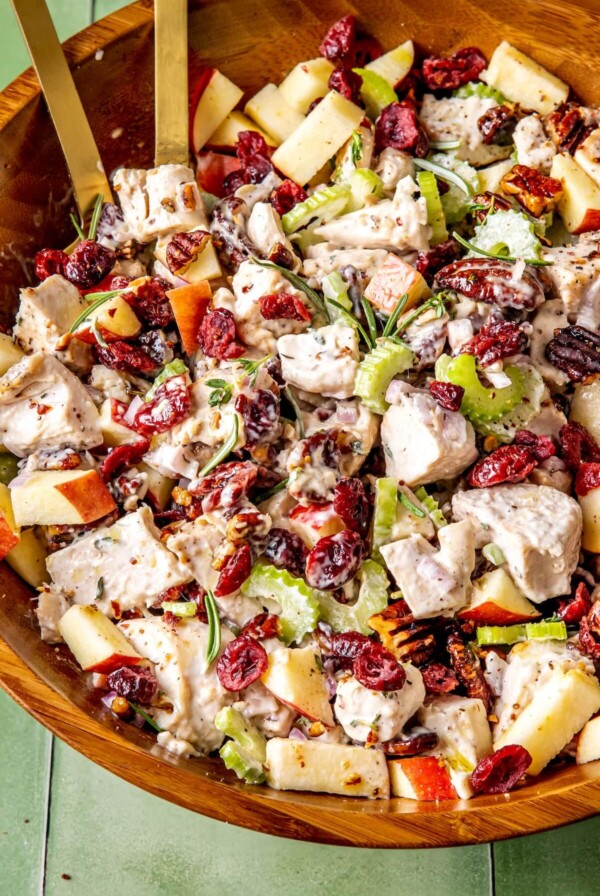
- Avocado Corn Chicken Salad
- Loaded Greek Chicken Bowl with Dairy-Free Tzatziki
- 20 Minute Rotisserie Chicken Tortilla Soup
- Southwestern Micro-Chopped Salad
- Loaded Veggie Chicken Verde White Bean Chili
Or, try my “Lazy Girl” Chicken Thighs if chicken thighs are more your thing!
“LAZY GIRL” CHICKEN BREASTS
Ingredients
- 1 ½ pounds chicken breasts, boneless and skinless (I look for 1-inch thick breasts)
- Salt and pepper to season (about ¼ teaspoon salt and ⅛ teaspoon pepper per breast)
- 2 tablespoons avocado oil
- About ½ cup bone broth
Instructions
- Pat the chicken dry and season generously on both sides with salt and pepper.
- Heat avocado oil in a large stainless steel or cast iron skillet over medium-high heat.
- Add the chicken breasts to the skillet, making sure not to overcrowd the pan. Cook, undisturbed, for 7 minutes. Avoid moving them around while cooking so you get that nice golden crust to form.
- Once the chicken can easily be released from the pan, flip the breasts over. Cook for another 5 to 7 minutes (see note).
- Lower the heat to medium and add ¼ cup of chicken broth, scraping up any chicken bits with a spoon as the broth deglazes the pan. Then, add another ¼ cup to cover the bottom of the pan.
- Allow the sauce to reduce until there’s only a thin glaze over the bottom of the pan, tossing the chicken in the sauce for another 3 to 5 minutes.
- Remove the chicken from the skillet and allow to rest for 5 minutes before slicing.
- Serve with the pan sauce and ENJOY!