GLUTEN-FREE ICE CREAM SANDWICHES (REFINED SUGAR-FREE & DAIRY-FREE)
on Dec 13, 2024, Updated Jun 25, 2025
This post may contain affiliate links. Please read our disclosure policy.
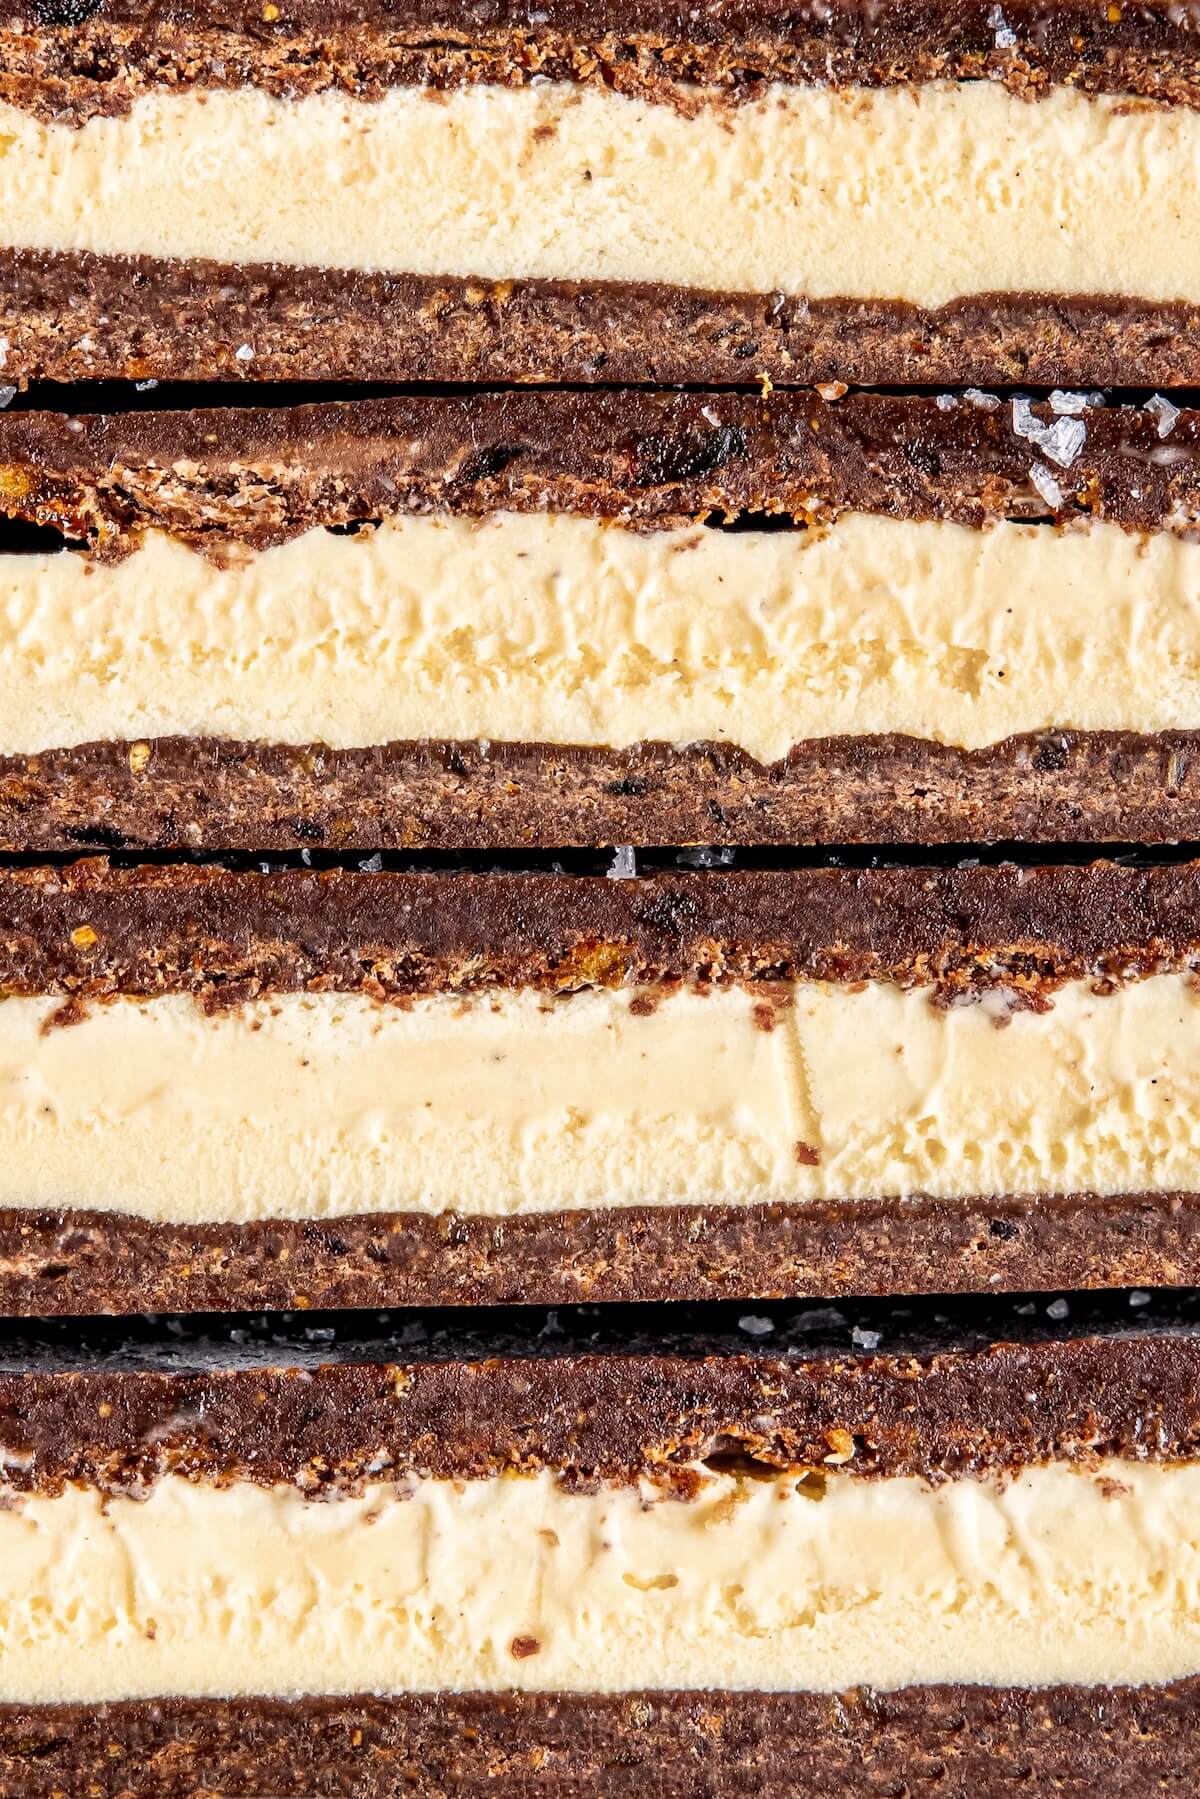
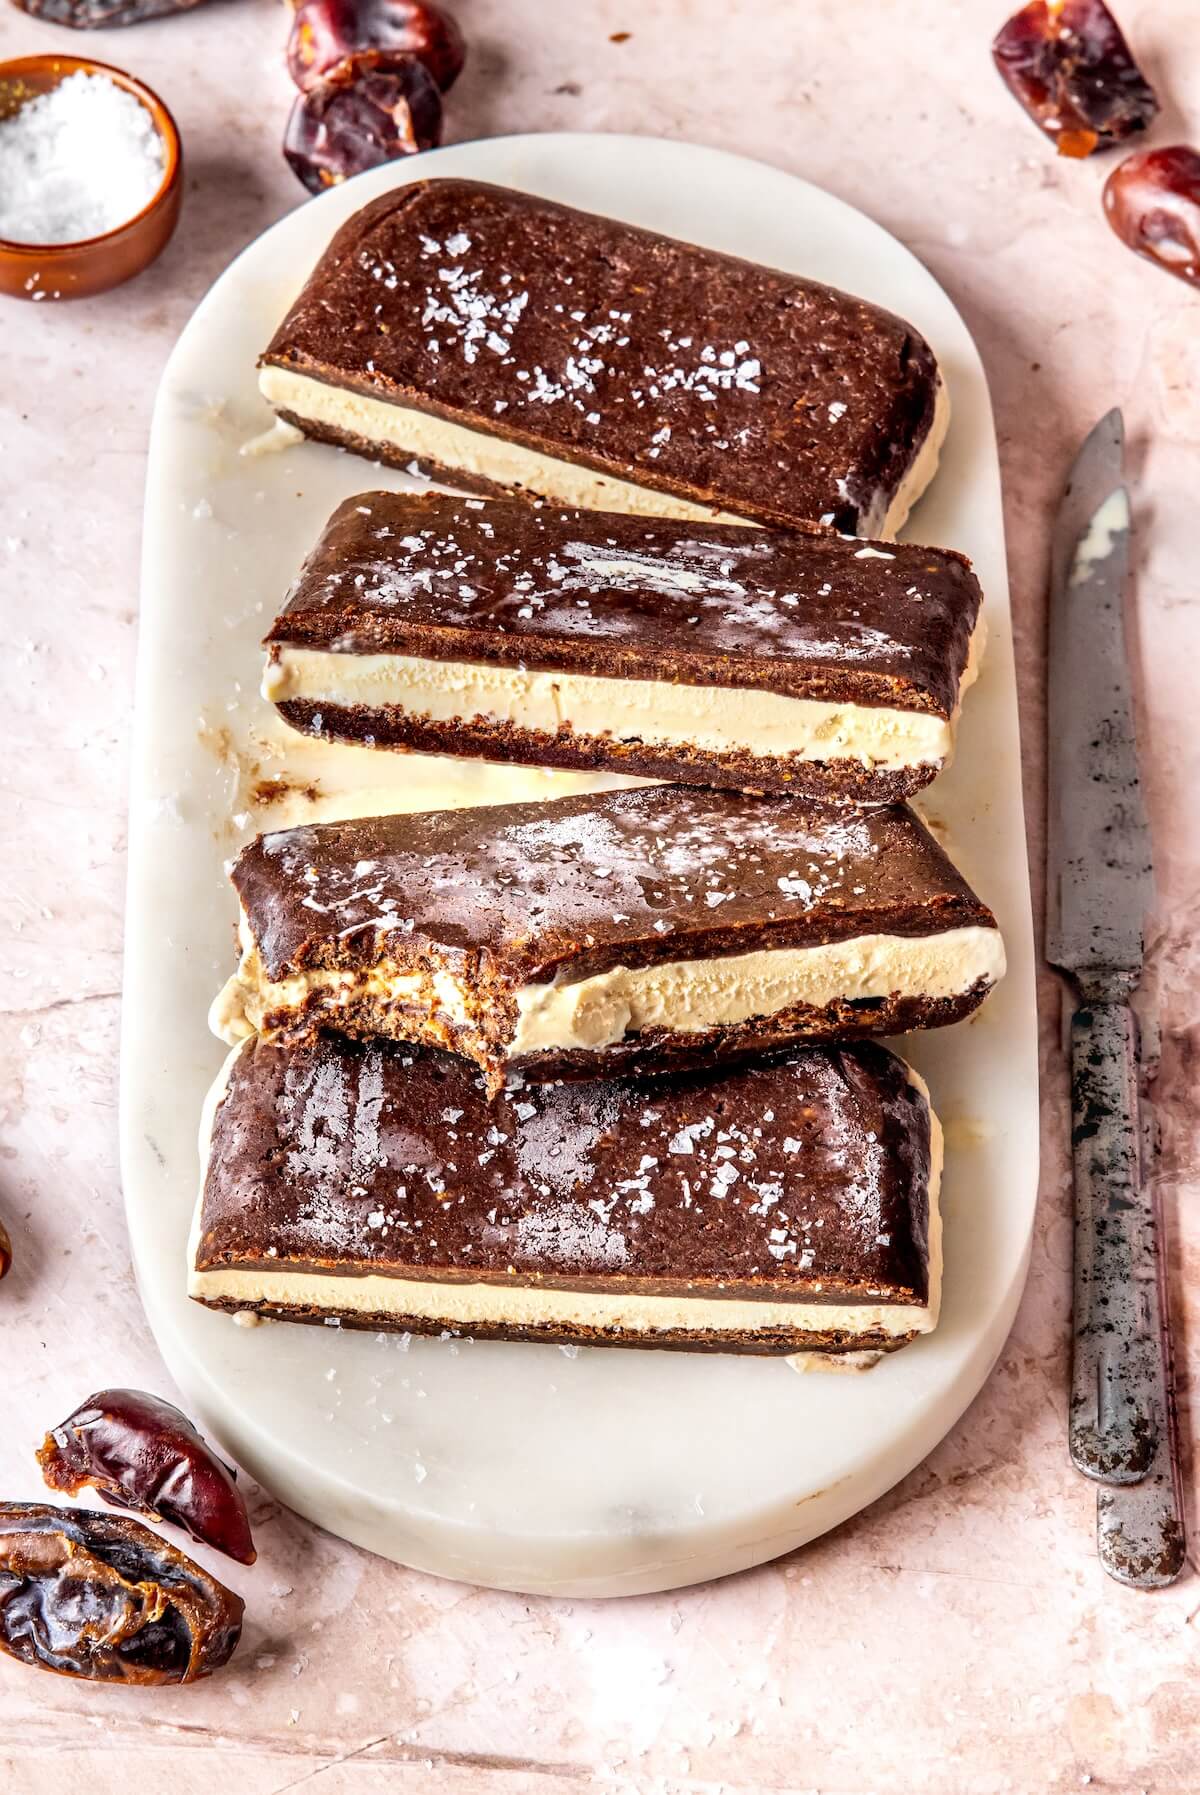
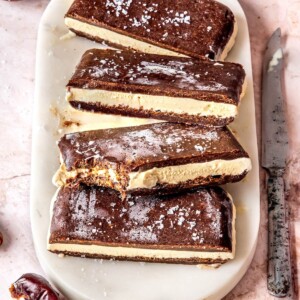
Dairy-free ice cream is sandwiched between two layers of chocolatey, fudgy, cookie dough-like gluten-free cookies.

We all scream for ice cream…sandwiches!
Since removing gluten and dairy from my diet in my early twenties, I’ve had my fair share of not-so-good “healthier” desserts.
My food philosophy is all about balance. While my body and skin feel better without these ingredients, I don’t want to sacrifice taste for a mediocre treat.
My Gluten-Free Ice Cream Sandwiches are here for all my gluten-free/dairy-free/refined sugar-free friends who never thought they could enjoy this hot summer day treat ever again.
This recipe is well worth the time and effort, because these ice cream sandwiches are sooo good and they just happen to be healthy too.
Making this recipe reminds me of my childhood when my parents would buy my siblings and me ice cream sandwiches at the pool snack shack.
One bite of this recipe and I’m filled with nostalgia for my younger years in Eugene, Oregon.
I highly recommend you make these for your next summer gathering, birthday party, or when you simply want to be taken back to some of your favorite childhood memories too.
Enjoy!
Get the Protein-Empowered digital cookbook!
Ingredients for Gluten-Free Ice Cream Sandwiches
No need for the ice cream truck! Your favorite childhood treat is simple and definitely fun to make. Here’s what you’ll need.
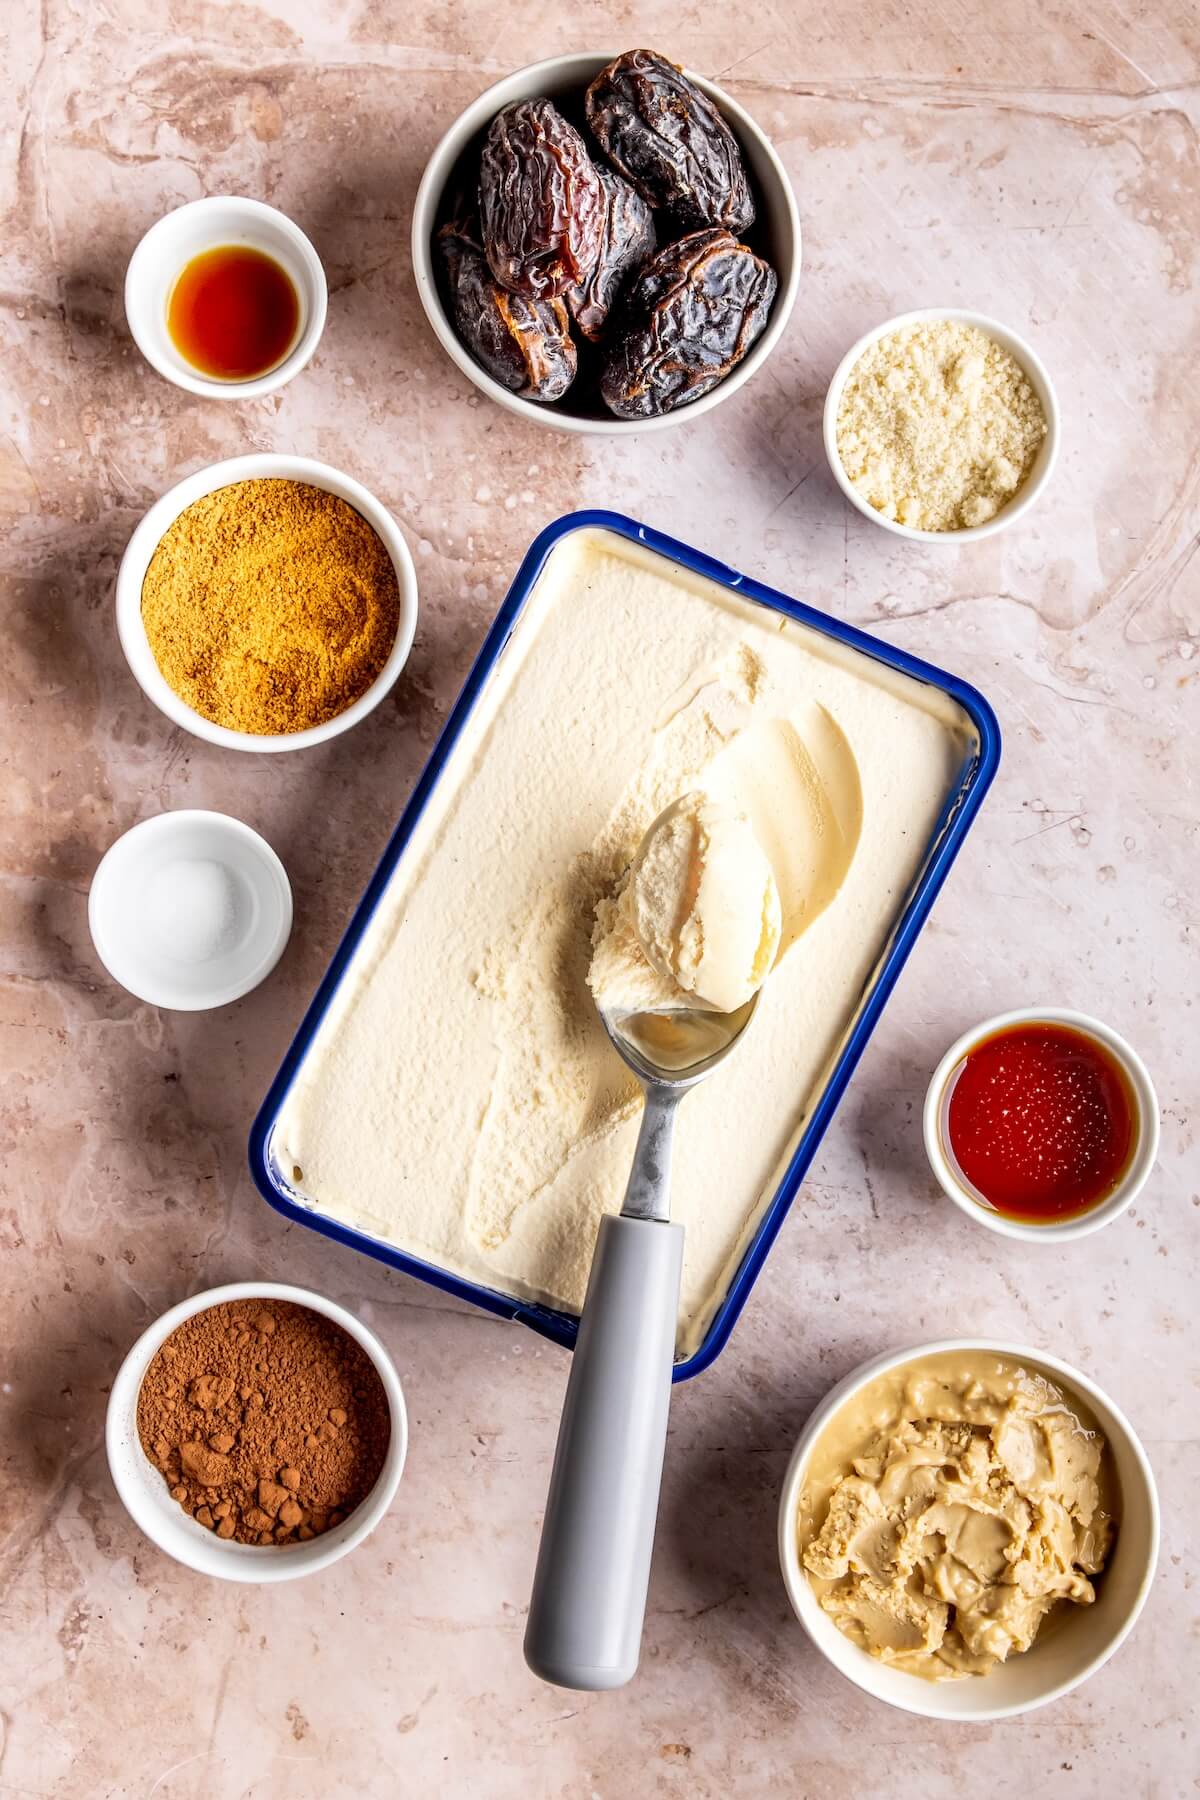
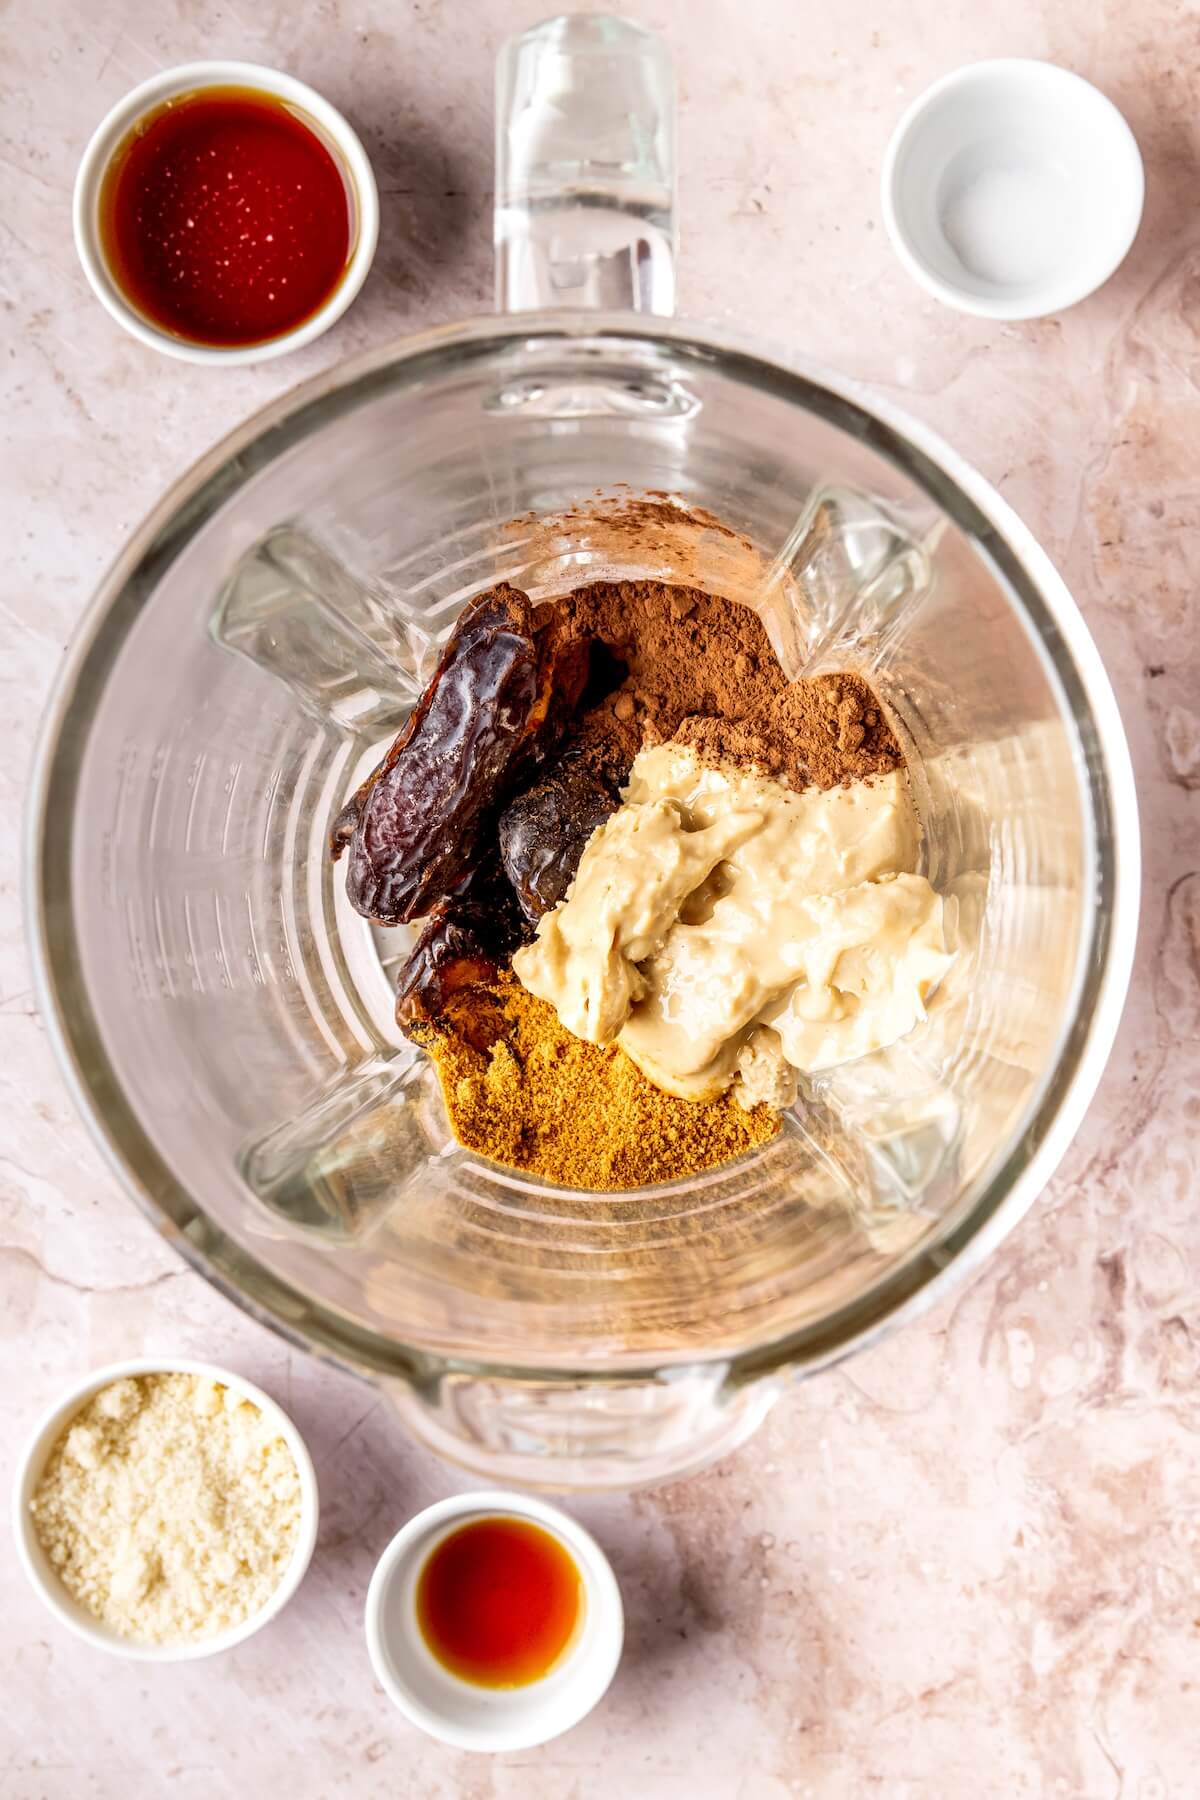
- Cashew Butter: I find cashew butter has the best flavor profile since it’s not too overpowering. Of course, any nut or seed butter should work if you want to make the swap.
- Dates: These naturally sweet, chewy bites of deliciousness help bind the cookie together.
- Coconut Sugar: You’ll only need ¼ cup of this sweetener, thanks to the addition of the dates.
Pin this recipe for later!
Pin It- Raw Cacao Powder: All the chocolate goodness comes from raw cacao, which is filled with antioxidants and flavonoids that help boost brain and cognitive health.
- Almond Flour: I haven’t tried this with any other flour so I’d highly suggest sticking with almond flour if you can.
- Maple Syrup: A few tablespoons adds to the fudginess of the cookie layer.
- Vanilla Extract: Helps balance out the chocolate flavor.
- Dairy-free Vanilla Ice Cream: See the FAQs below for my recommendations.
How to Make Gluten and Dairy-Free Ice Cream Sandwiches
Step 1: Make the Cookie Dough Sandwich Layers
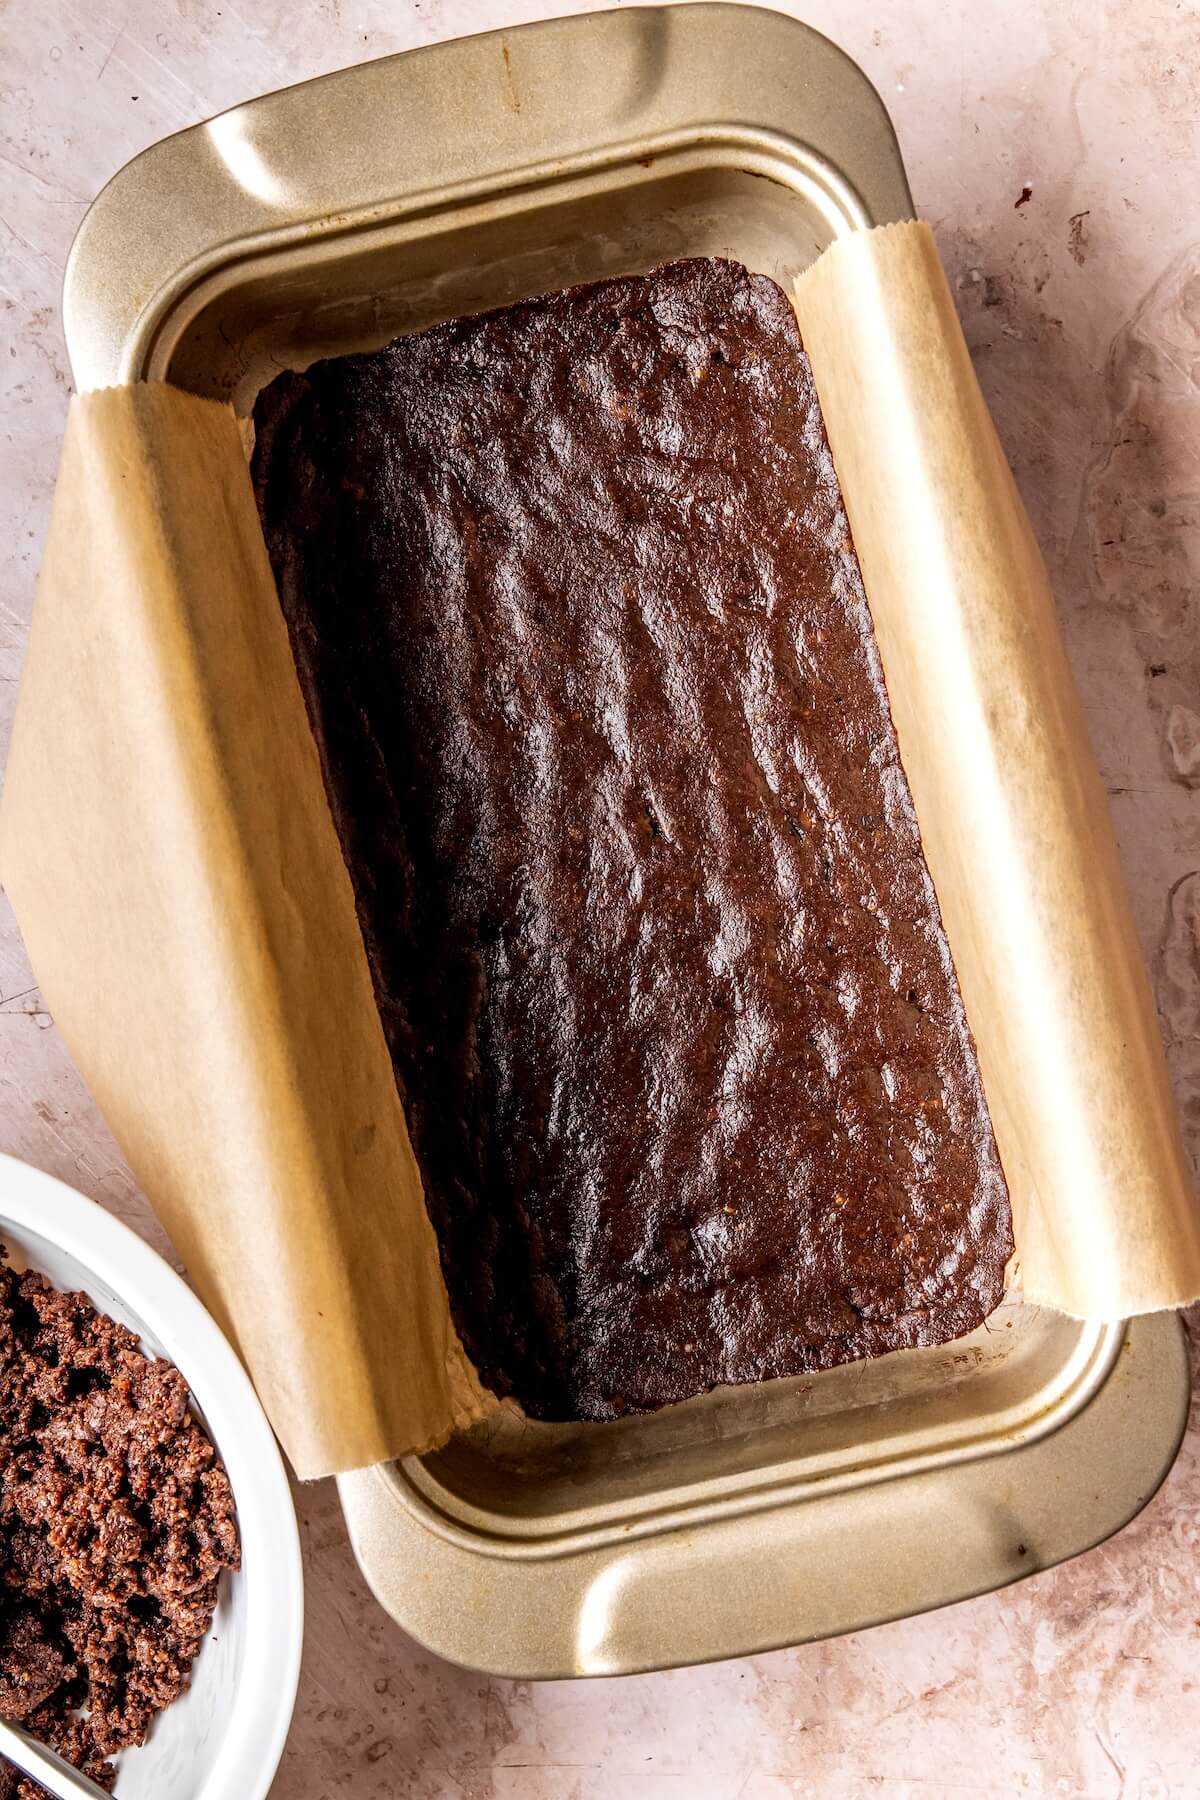
Line a loaf pan (mine is 8.5 x 4.5 inches) with parchment or wax paper and set aside.
Add the cashew butter, dates, coconut sugar, cacao powder, almond flour, maple syrup, vanilla extra, and salt to a food processor and pulse until well combined. The texture will be like thick, sticky sand.
Divide the mixture in half. Press one-half of the mixture into the prepared loaf tin. Spread with a spatula so it’s in an even layer.
Freeze for 20 minutes.
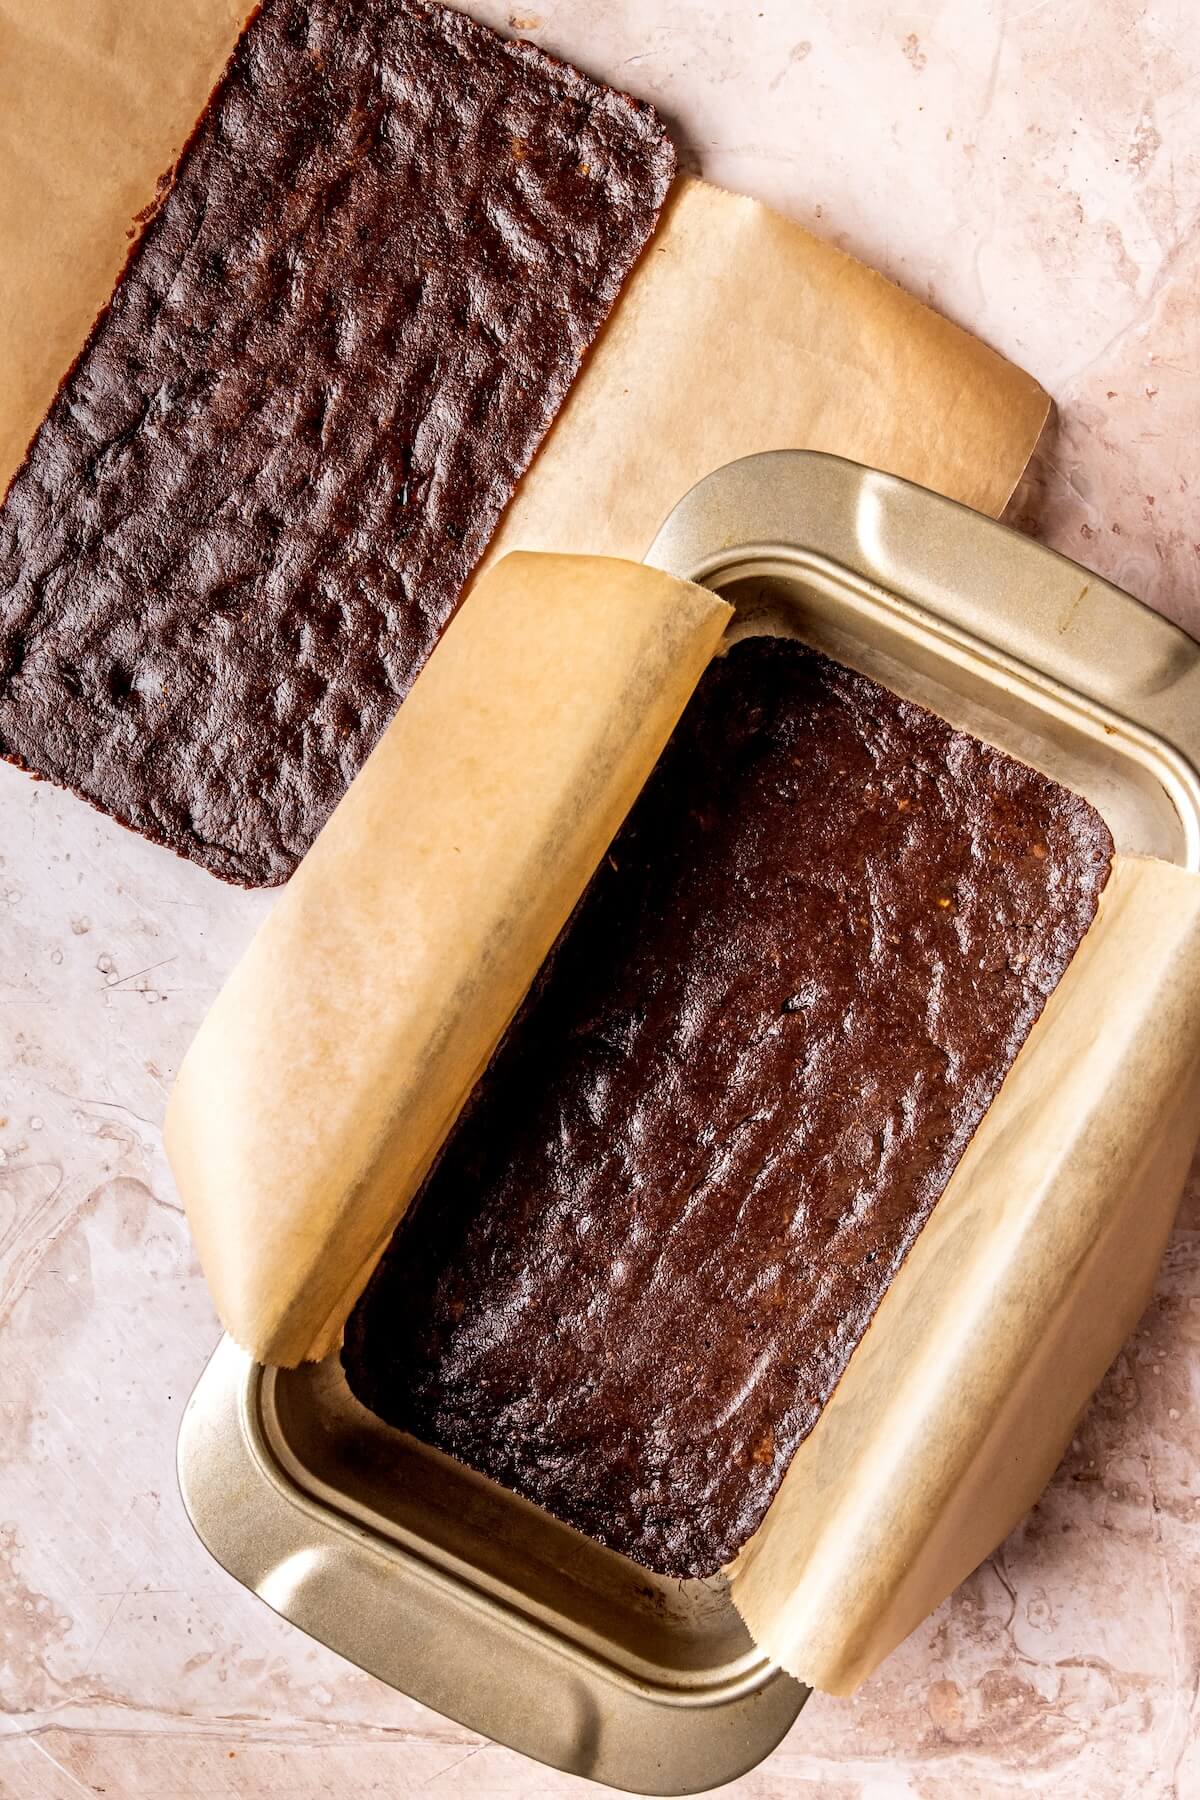
Once the 20 minutes is up, remove the cookie layer from the loaf tin, using a knife to loosen up the edges first.
Keep this layer on the parchment paper, place it on a plate, and return it to the freezer to continue chilling.
Make your second layer by following the same steps as the first: Press the remaining half of the mixture into the prepared loaf tin until it’s in an even layer and freeze for 20 minutes.
Step 2: Defrost the Ice Cream and Assemble the Sandwiches
While this second layer freezes, place your ice cream in the fridge to soften.
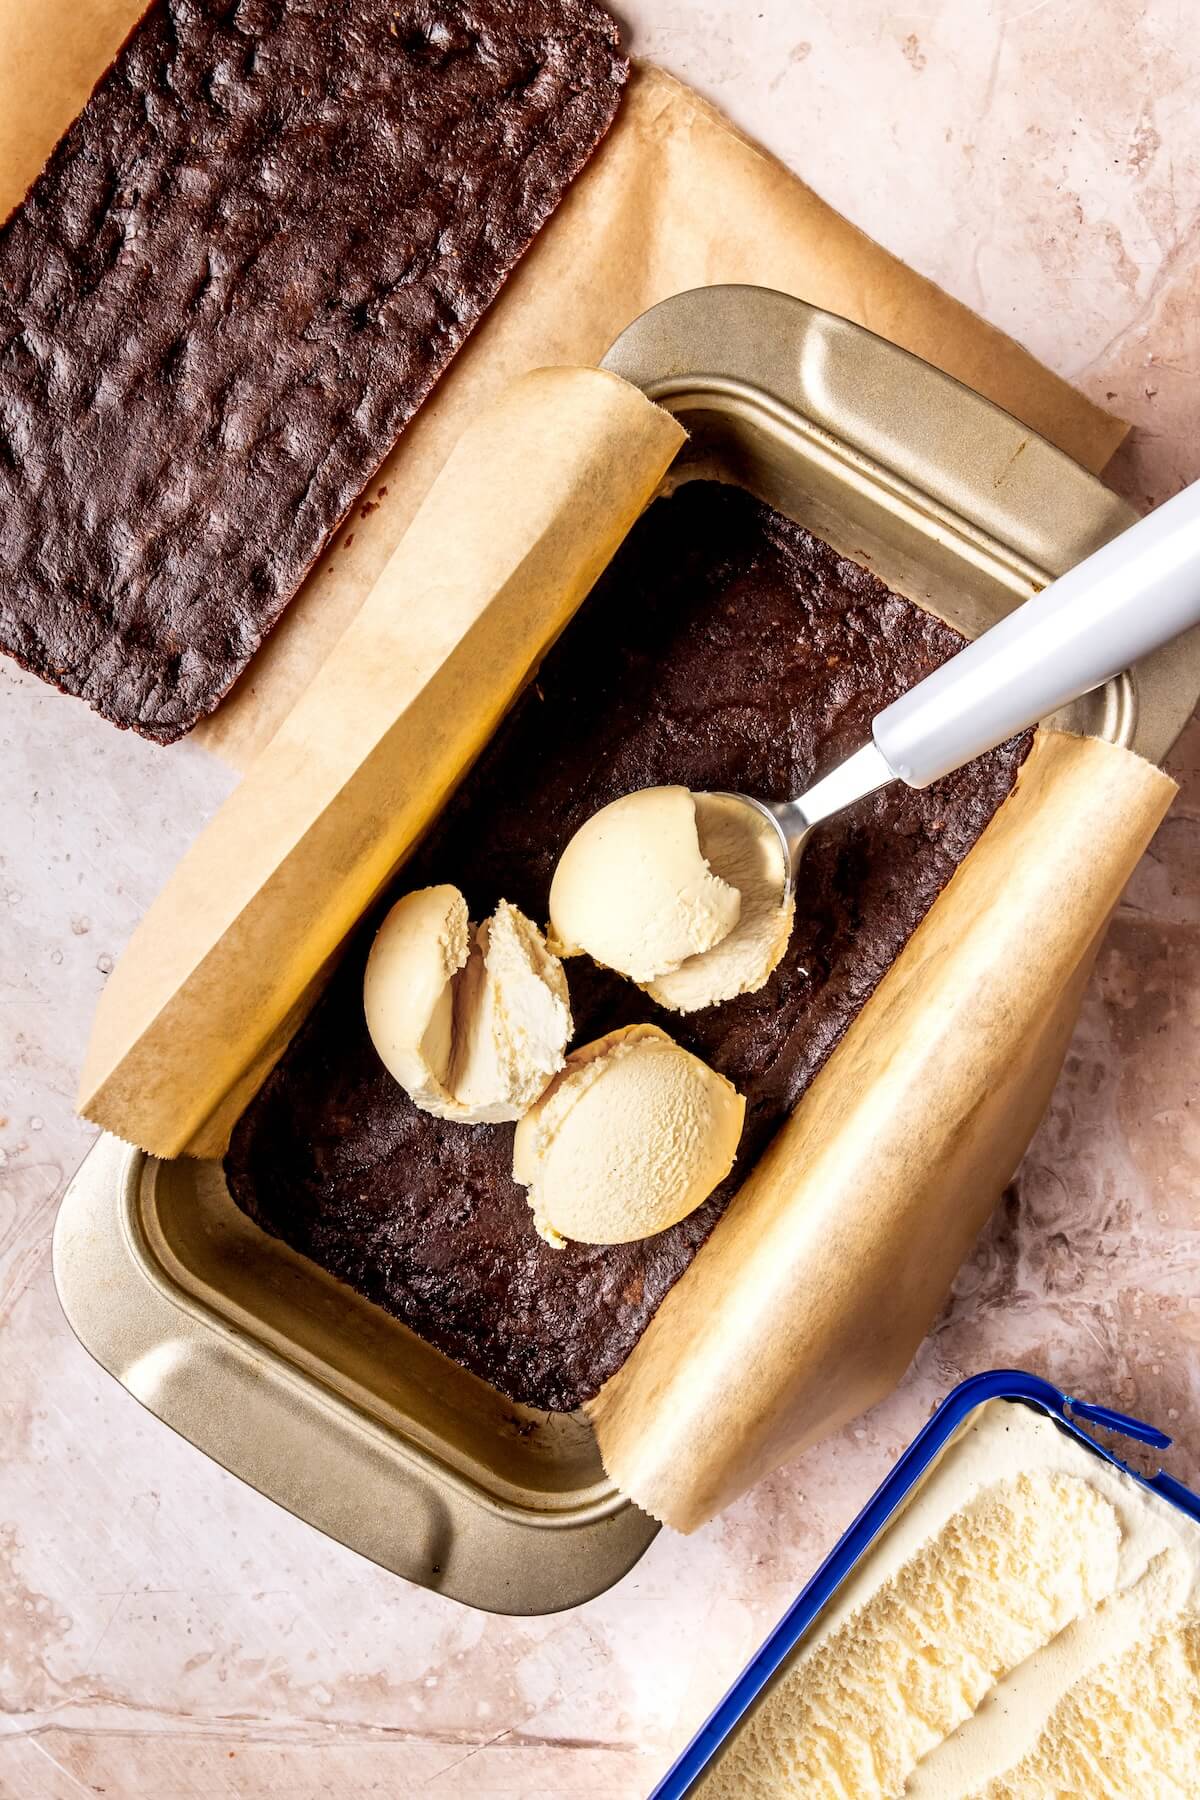
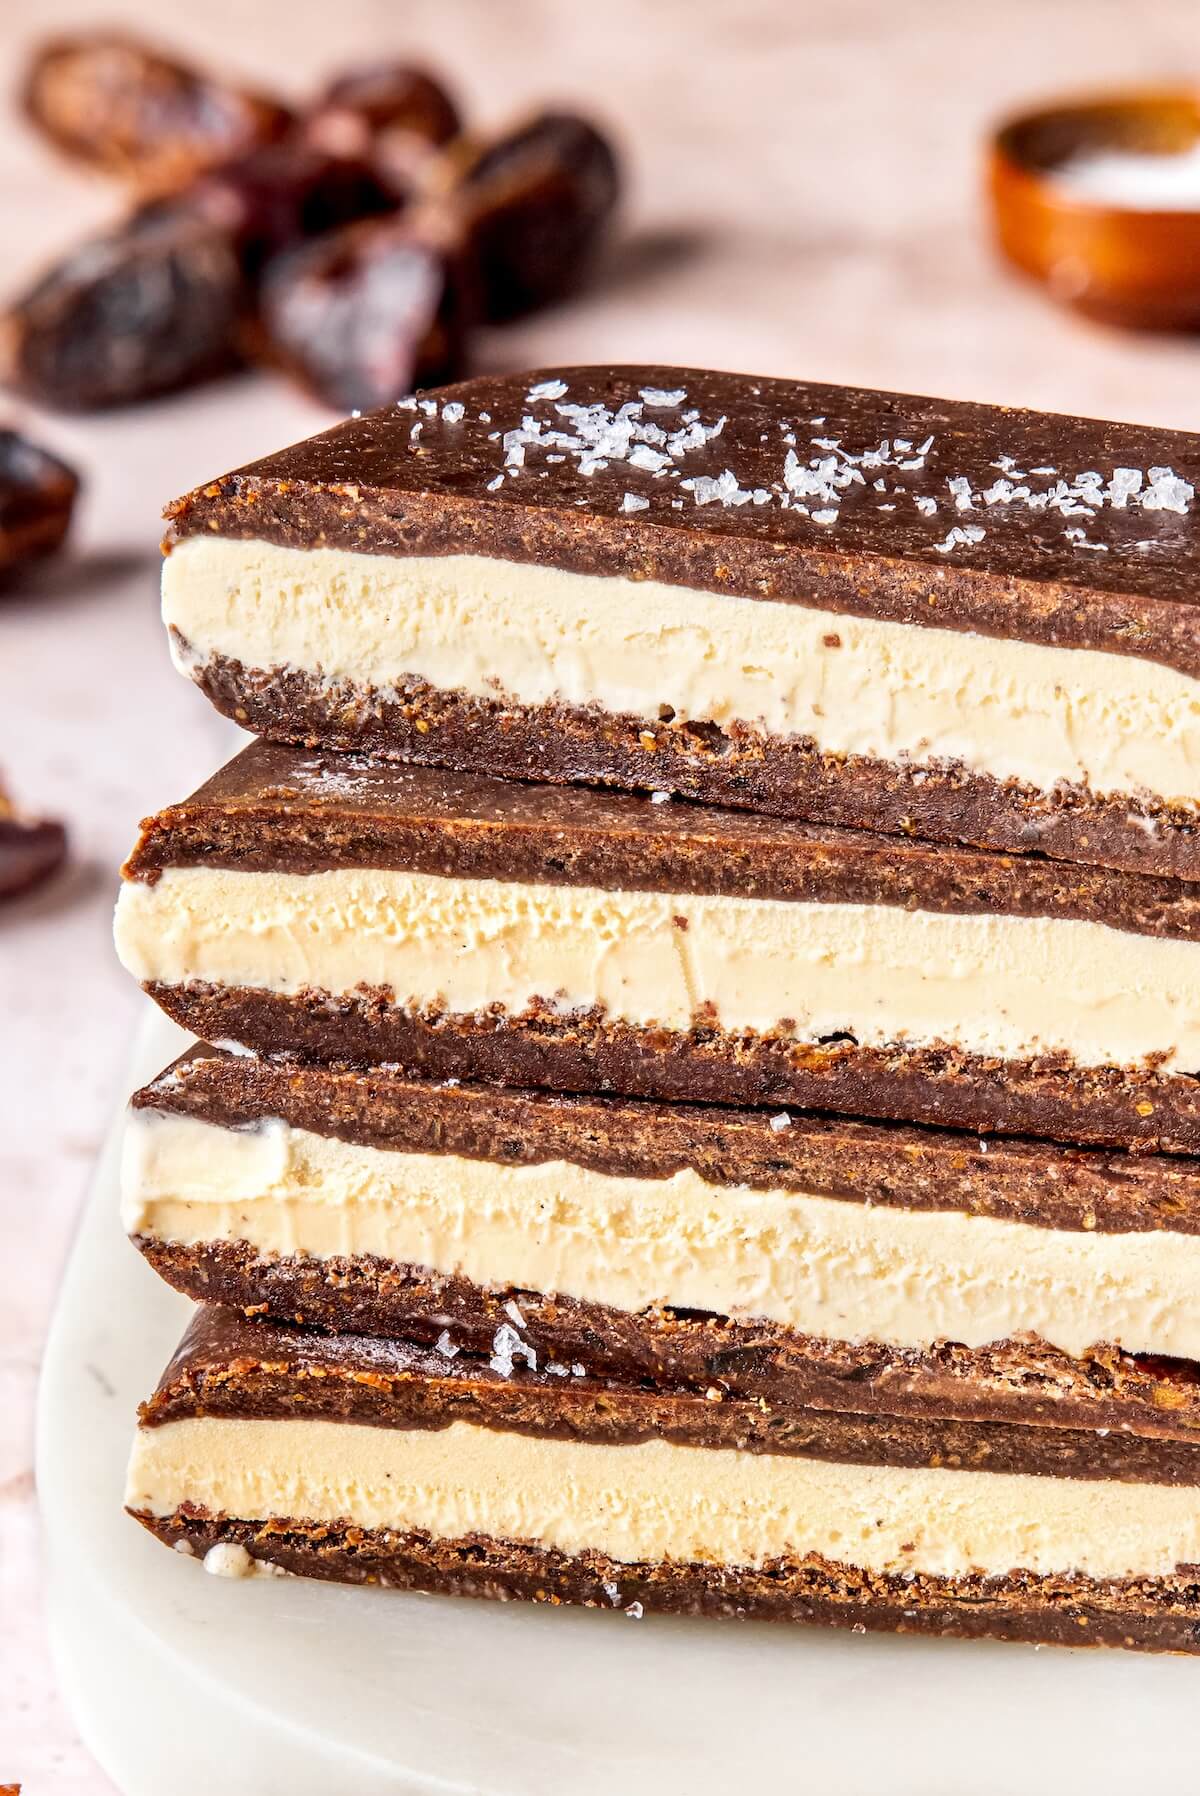
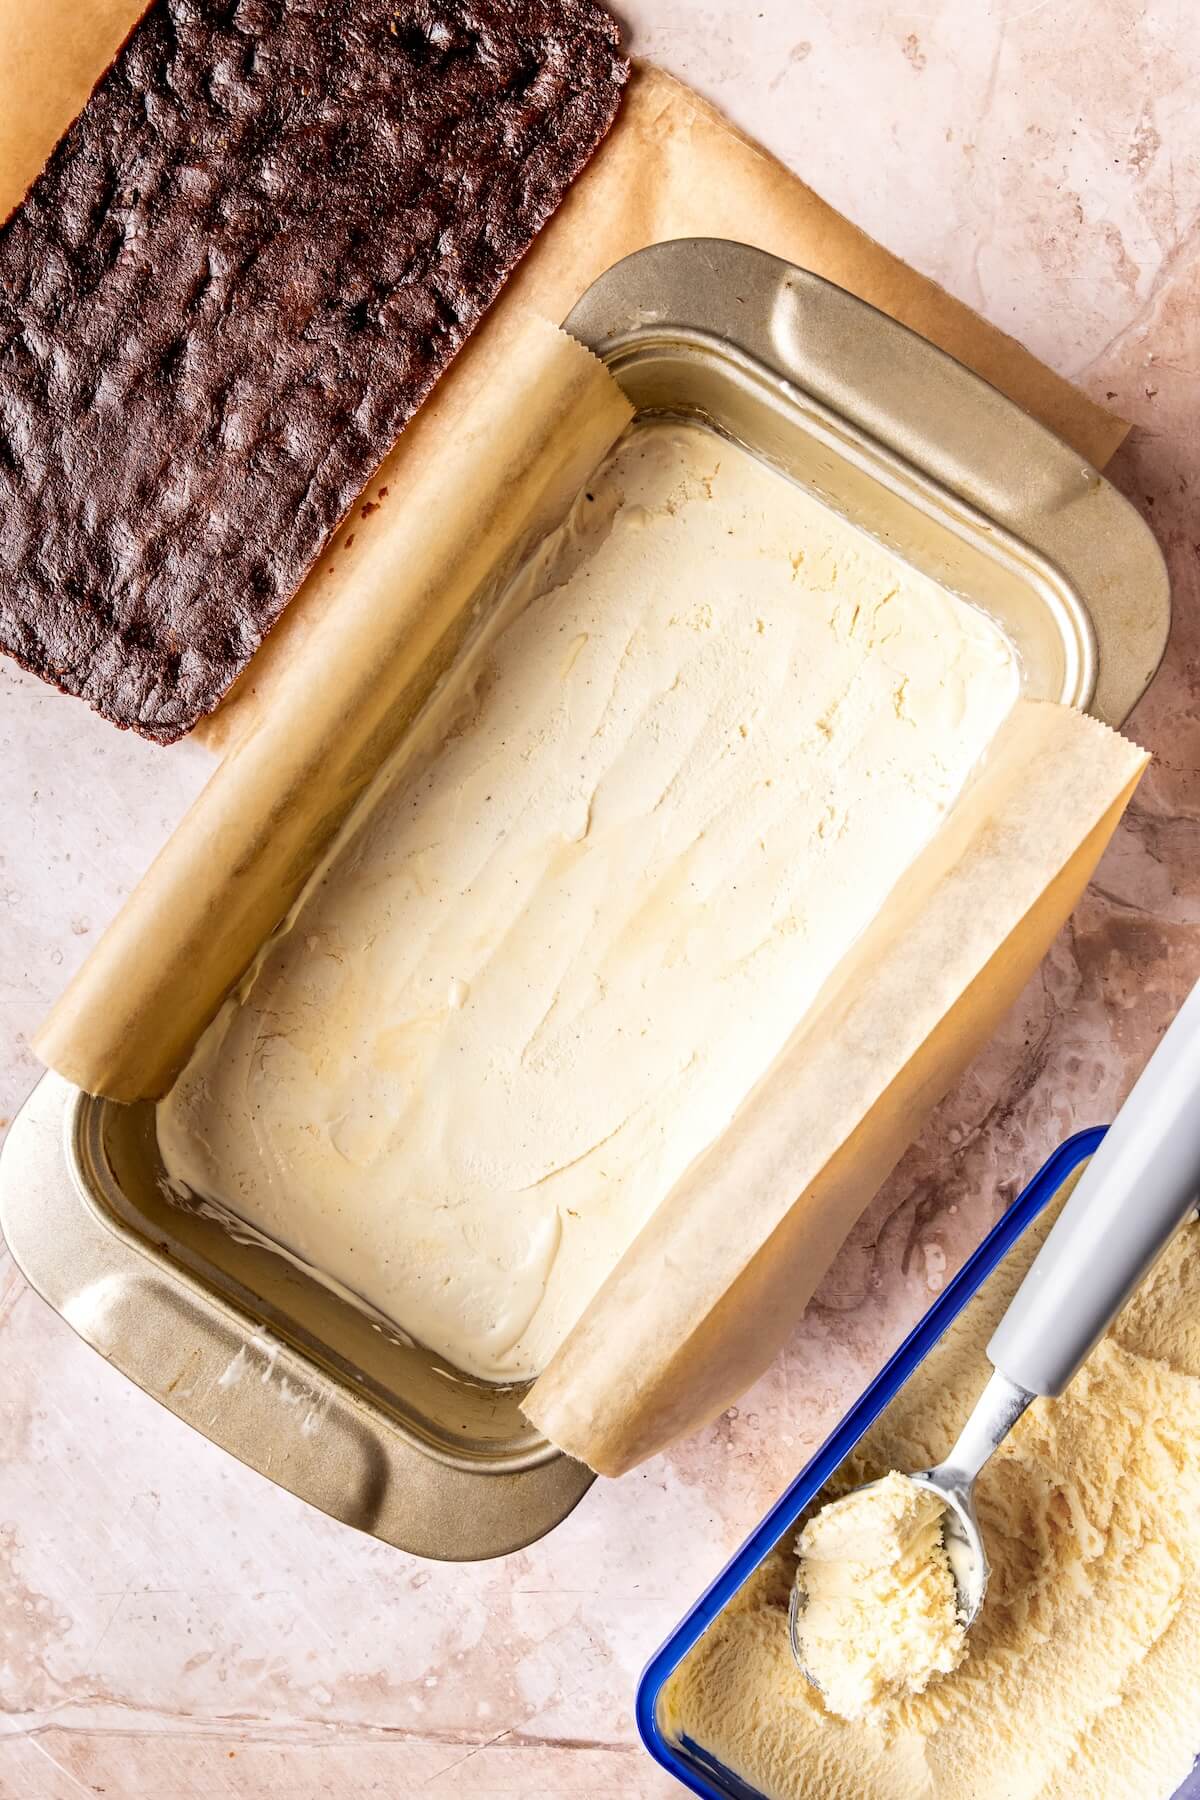
Once both layers have frozen, add your ice cream layer by scooping your softened ice cream into a 3/4 to 1-inch thick layer.
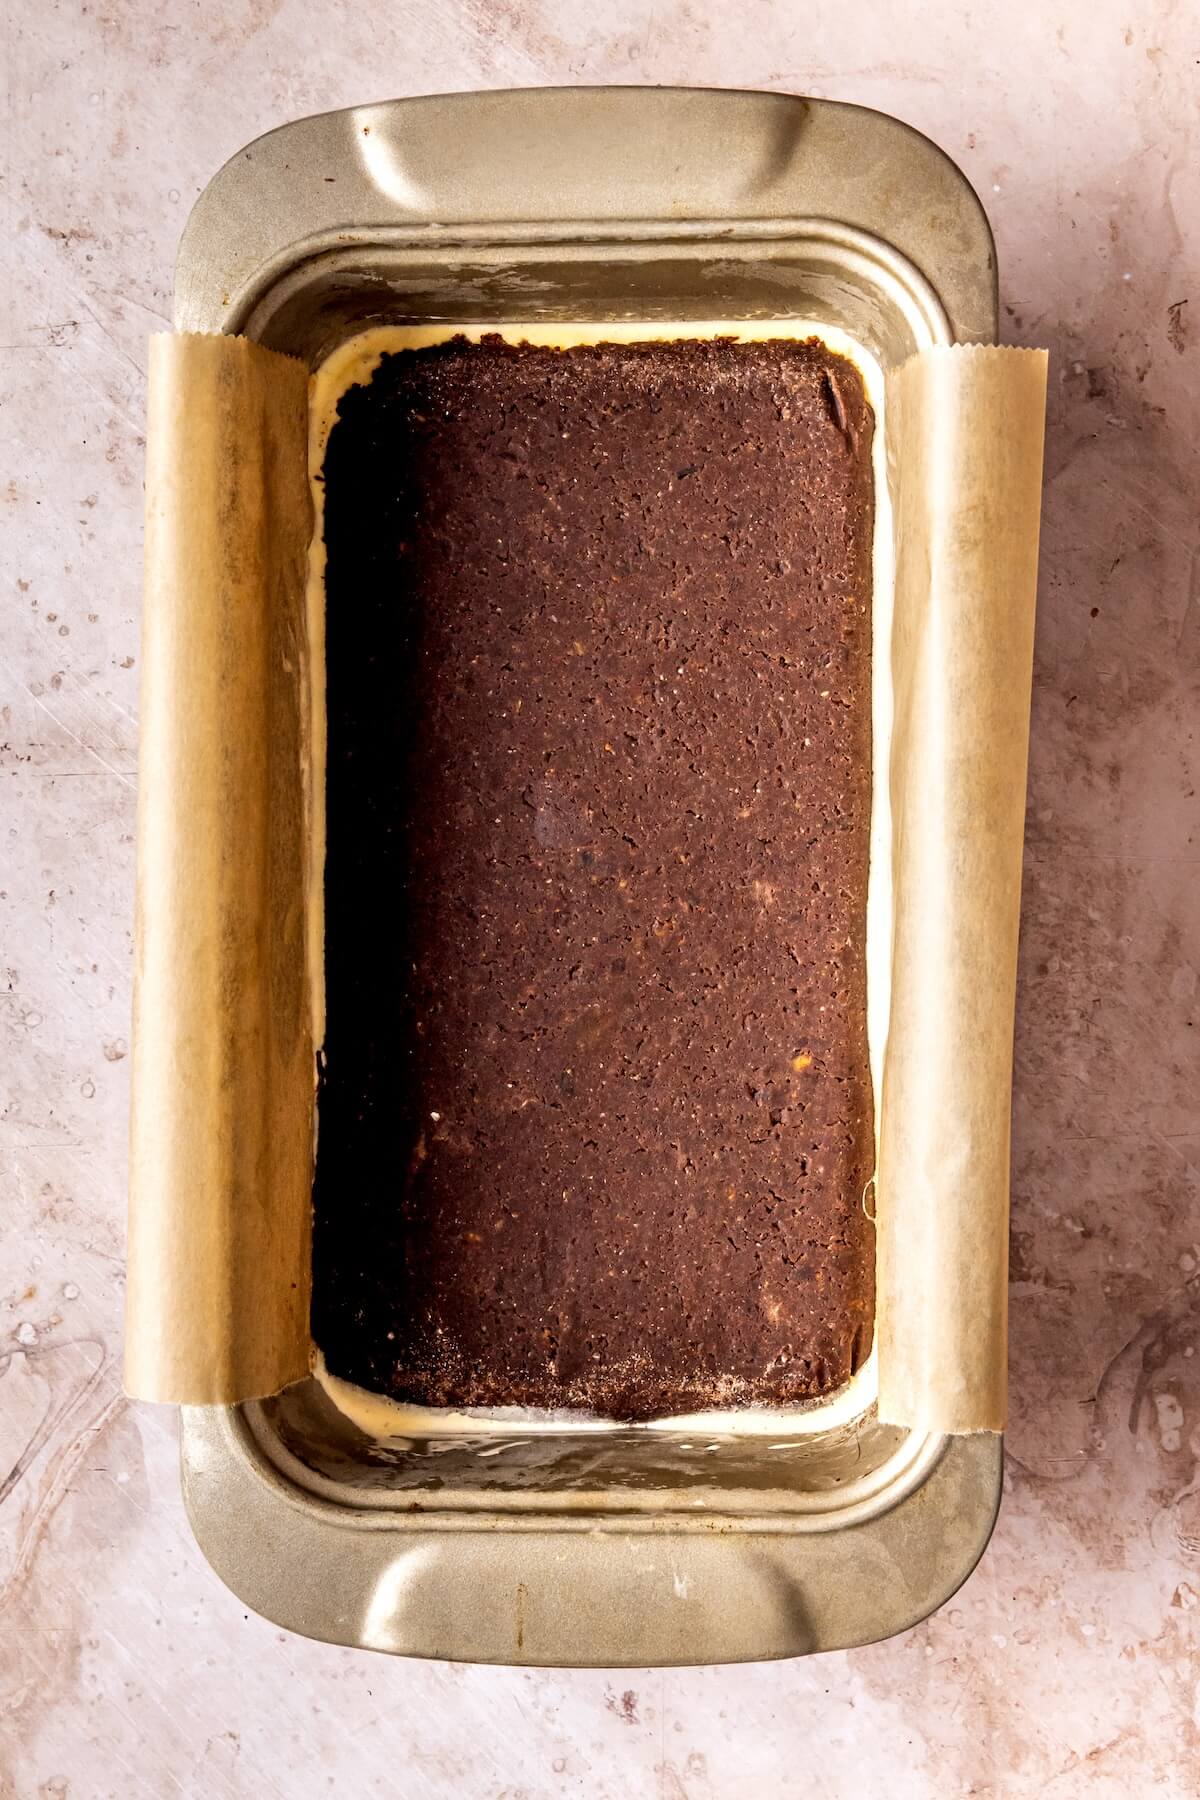
Remove the first cookie layer from the freezer, peel the parchment off, and layer it on top of the ice cream. Return the loaf tin to the freezer and freeze overnight, or at least 6 hours.
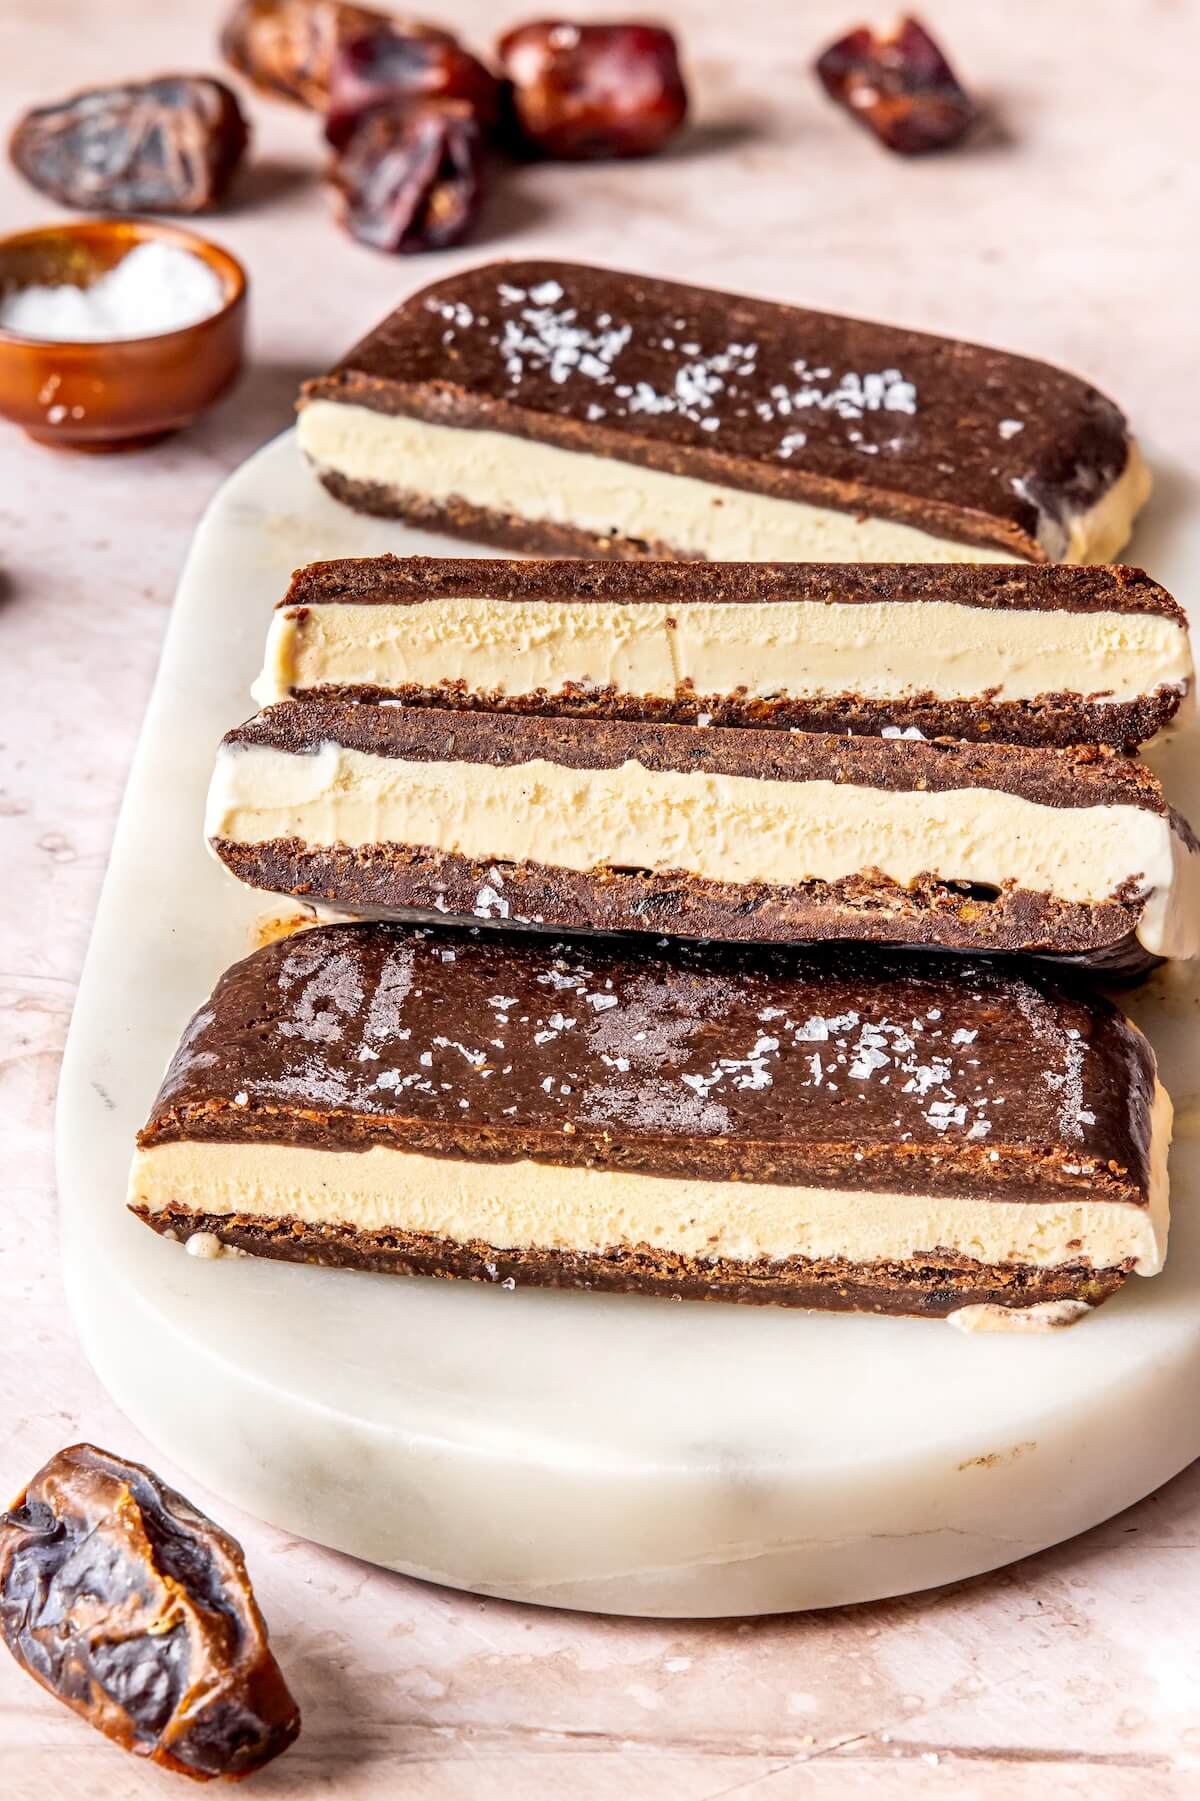
When ready to eat, slice into even sandwiches. Serve (with a napkin!) and enjoy!
Recipe Variations for Dairy-Free, Gluten-Free Ice Cream Sandwiches
Yes! Any nut butter will work, but cashew butter has the most mild flavor and was the best taste experience for me. For my nut-free friends, I haven’t tried it with pumpkin or sunflower seed butter but I’m sure these would work well too!
This is a hard one because I haven’t found any good store-bought brands. For this recipe, I used Oatly which worked well but it does have added sugar and preservatives that I’m typically not a fan of. However, it has a great taste and texture despite being dairy-free. If you happen to live in Austin, be sure to try @gati.icecream. Their dairy-free ice cream is top-notch, so much so that I did a collab with them this past spring!
Absolutely! If the ice cream sandwiches have been frozen overnight, allow them to sit at room temperature for 5 to 7 minutes before slicing into them. If you made them several days in advance, place them in the fridge for 20 minutes before serving.
Other No Bake Gluten-Free Desserts
- No-Bake Edible Cookie Dough Bars
- No-Bake Caramel Pecan Bars
- 5-Ingredient Chocolate Covered Peanut Butter Mousse
- Dairy-Free High Protein Cookie Dough Yogurt Cups
- No Bake Peanut Butter Cookie Dough Bars with Chocolate Ganache
GLUTEN-FREE ICE CREAM SANDWICHES (REFINED SUGAR-FREE & DAIRY-FREE)
Ingredients
- ¾ cups cashew butter
- ¾ cups pitted dates, loosely packed (about 8)
- ¼ cup coconut sugar
- ¼ cup raw cacao powder
- 2 tablespoons almond flour
- 2 tablespoons maple syrup
- ½ teaspoon vanilla extract
- ¼ teaspoon salt
- Your favorite dairy-free ice cream
Instructions
- Line a loaf pan (mine is 8.5 x 4.5 inches) with parchment or wax paper and set aside.
- Add the cashew butter, dates, coconut sugar, cacao powder, almond flour, maple syrup, vanilla extra, and salt to a food processor and pulse until well combined. The texture will be like thick, sticky sand.
- Divide the mixture in half. Press one-half of the mixture into the prepared loaf tin. Spread with a spatula so it’s in an even layer.
- Freeze for 20 minutes.
- Once the 20 minutes is up, remove the cookie layer from the loaf tin, using a knife to loosen up the edges first. Keep this layer on the parchment paper, place it on a plate, and return it to the freezer to continue chilling.
- Make your second layer by following the same steps as the first: Press the remaining half of the mixture into the prepared loaf tin until it's in an even layer and freeze for 20 minutes.
- While this second layer freezes, place your ice cream in the fridge to soften.
- Once both layers have frozen, add your ice cream layer by scooping your softened ice cream into a 3/4 to 1-inch thick layer.
- Remove the first cookie layer from the freezer, peel the parchment off, and layer it on top of the ice cream. Return the loaf tin to the freezer and freeze overnight, or at least 6 hours.
- When ready to eat, slice into even sandwiches. Serve (with a napkin!) and enjoy!
Notes
Nutrition
Nutrition information is automatically calculated, so should only be used as an approximation.